If you’ve ever wished your kitchen scraps could transform into garden gold without the traditional wait, bokashi composting offers a compelling alternative. Unlike conventional composting, which relies on aerobic decomposition and excludes meat and dairy, bokashi employs beneficial microorganisms to ferment waste in an anaerobic environment. You’ll discover how this rapid two-to-three-week process works, what supplies you’ll need, and why many gardeners are switching to this space-efficient method—but first, understanding the fundamental differences proves essential.
What Is Bokashi Composting? (How It Differs From Traditional Methods)
While traditional composting relies on aerobic decomposition—a process that requires oxygen, time, and regular turning—bokashi composting uses an anaerobic fermentation method that breaks down food scraps through the action of specialized microorganisms called effective microorganisms (EM). Unlike traditional composting, which can take months or even years to produce finished compost, bokashi composting accelerates decomposition considerably, typically completing the fermentation process in two to three weeks. You’ll notice that bokashi composting accepts materials traditional composting cannot, including meat, dairy, and oils, making it more versatile for your kitchen waste. The bokashi bucket system remains compact and odor-controlled when properly maintained, whereas traditional compost piles require substantial outdoor space and generate noticeable odors. Additionally, you’re fermenting rather than decomposing, creating nutrient-rich pre-compost that you later incorporate into soil.
Also read: 11 Best Companion Plants for Potatoes
Essential Supplies: What You’ll Need to Start

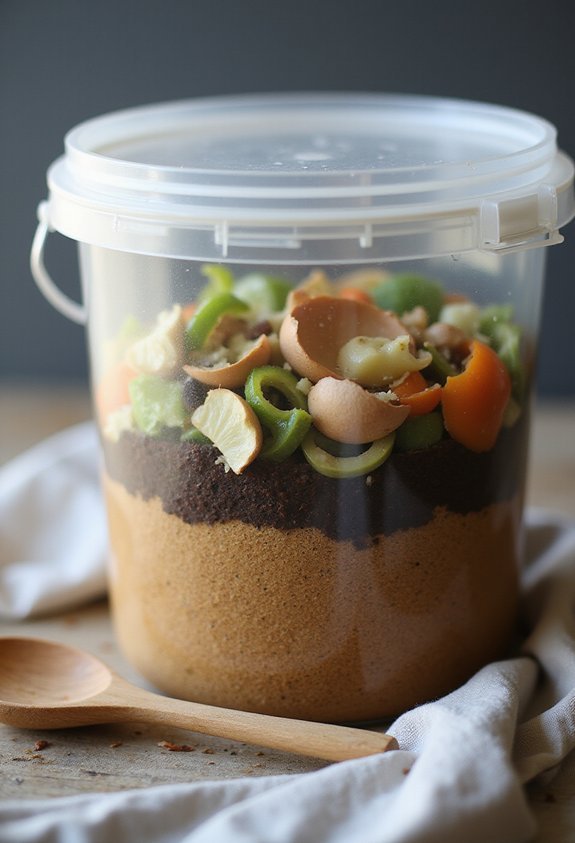
Since you’ll be starting your bokashi composting journey, you’ll need to gather several key supplies before you begin fermenting your food scraps. First, you’ll need a bokashi bucket with a tight-fitting lid to contain your materials and prevent odors from escaping. Second, you’ll need bokashi bran, which is a special inoculated mixture containing microorganisms that break down your food waste during fermentation. You’ll also want to have a spoon or small shovel for spreading the bran evenly over your scraps. Additionally, keep a small container nearby for collecting kitchen waste throughout the day. Finally, consider having a drain tap installed on your bucket to remove excess liquid that accumulates during the fermentation process, ensuring proper moisture management.
How Bokashi Fermentation Works: The Process Explained
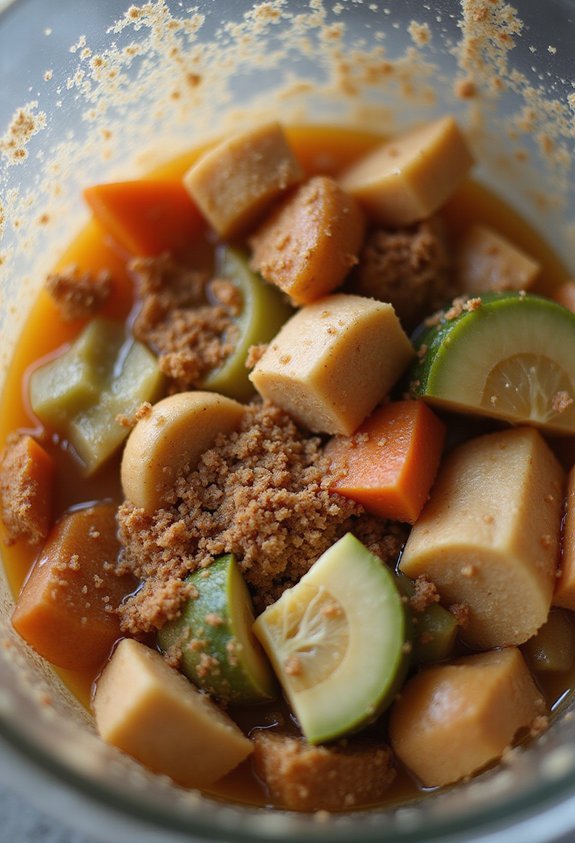
Now that you’ve gathered your bokashi bucket, bran, and other supplies, understanding how the fermentation process actually works will help you get the best results from your composting efforts. When you add food scraps to your bokashi bucket, you’re introducing them to specially formulated bran containing beneficial microorganisms, primarily lactic acid bacteria. These microorganisms break down organic matter through anaerobic fermentation, a process that occurs without oxygen in your sealed bucket. As the bacteria consume the food scraps, they produce lactic acid, which lowers the pH level and prevents harmful decomposition. You’ll layer scraps with bran, seal the bucket tightly, and let fermentation happen over ten to fourteen days. This controlled process transforms your kitchen waste into nutrient-rich pre-compost, ready for soil integration.
Fermenting Food Scraps: A Step-by-Step Guide
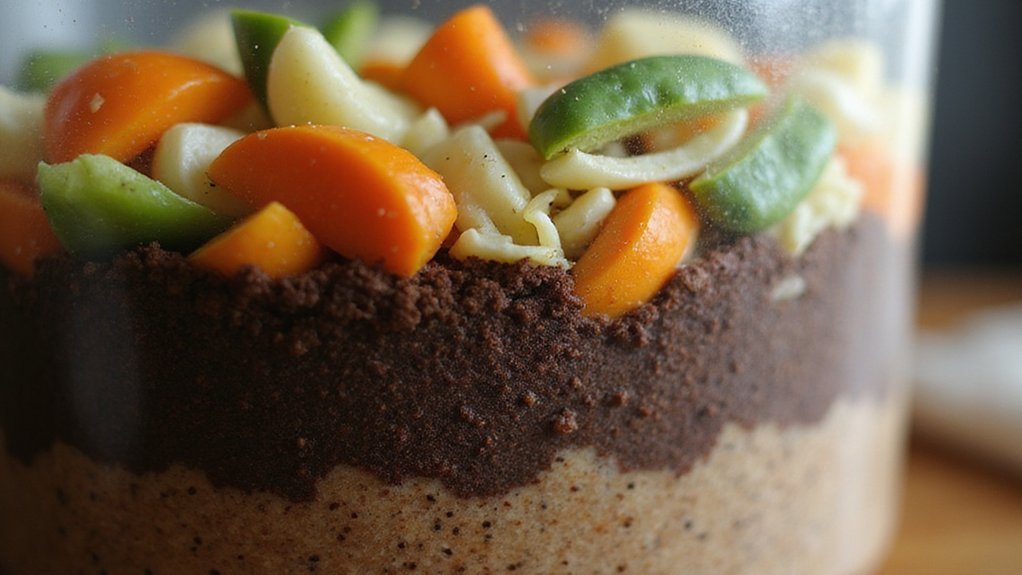
To get started with your bokashi fermentation, you’ll need to gather your bokashi bucket, a supply of bokashi bran, and your food scraps, then follow a systematic layering process that creates the ideal environment for beneficial bacteria to thrive. Begin by adding a thin layer of food scraps to the bucket’s bottom, then sprinkle a handful of bokashi bran over the scraps, ensuring complete coverage. Repeat this alternating pattern, compressing each layer firmly to eliminate air pockets that might encourage unwanted mold growth. Continue layering until your bucket’s nearly full, maintaining consistent compression throughout. Once you’ve completed layering, seal the bucket tightly and store it in a cool, dark location away from direct sunlight, allowing the fermentation process to begin its essential work over the following weeks.
Solving Common Bokashi Problems and Odor
Even when you’ve followed the layering process correctly, you might encounter challenges that can affect your bokashi fermentation’s success, and understanding how to identify and fix these issues will keep your system running smoothly. If you’re noticing strong ammonia or rotten smells, your bokashi bucket likely has excess moisture, so you’ll need to drain the liquid more frequently through the spigot at the bottom. When you’re experiencing mold growth on the surface, guarantee you’re using enough bokashi bran and that you’re compressing scraps firmly to eliminate air pockets. If fermentation isn’t progressing as expected, verify that your bran contains active microorganisms and that you’re maintaining proper moisture levels, keeping the bucket sealed between additions, and storing it in a warm location where temperatures stay consistent.
Using Finished Bokashi Compost in Your Garden
Once your bokashi bucket has completed its fermentation cycle and you’ve buried the contents in soil or a traditional compost bin for two to four weeks, you’ll have dark, crumbly, nutrient-rich finished compost that’s ready to nourish your garden. You can mix this compost directly into your garden beds, vegetable plots, or potted plants to improve soil structure and provide essential nutrients. Apply a two- to four-inch layer and work it into the top six to eight inches of existing soil, which helps retain moisture and promotes beneficial microbial activity. For potted plants, blend finished bokashi compost with regular potting soil at a ratio of one part compost to three parts soil. Monitor your plants’ growth over the following weeks, adjusting application rates based on their response and your soil’s nutrient levels.
Conclusion
You’ve now got the tools you need to turn your kitchen waste into black gold through Bokashi composting. By following these steps consistently, you’ll transform food scraps that’d normally end up in landfills into nutrient-rich compost that your garden’ll thrive on. You’re not just reducing waste; you’re creating a sustainable cycle that benefits your plants, your soil, and your environment simultaneously.