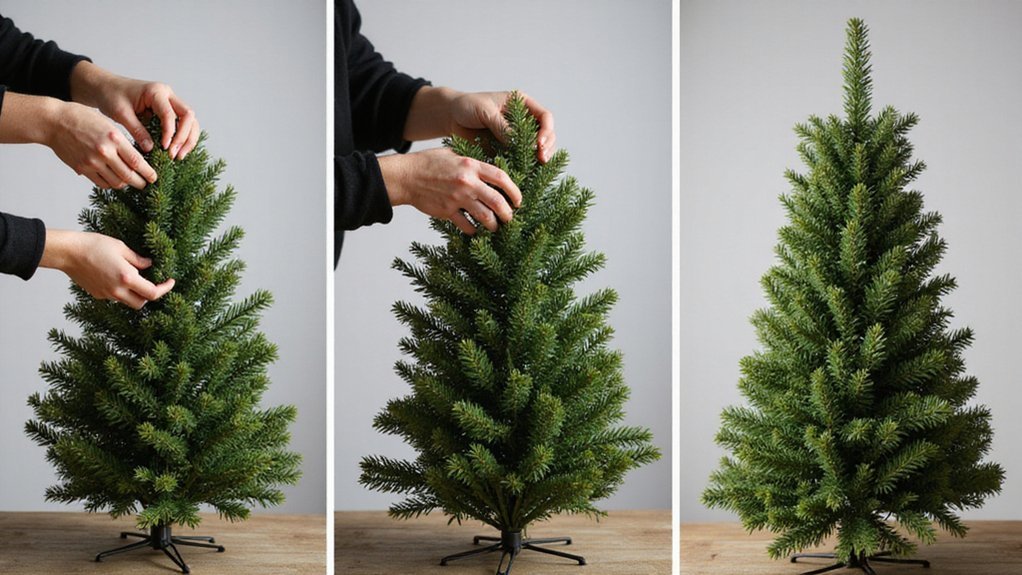
When you unpack your artificial tree, you’ll notice the branches are compressed and layered tightly together. To transform it into a full, impressive display, you’ll need to systematically separate and arrange each branch. The process requires patience and attention to detail, but the results create a lush, dimensional look that fills your space. The key lies in understanding where to start and which techniques produce the most dramatic improvements.
Start Fluffing at the Top
Because you’re working from the top down, you’ll want to begin with the uppermost branches of your faux Christmas tree, which means starting at or near the tree’s peak and working your way systematically toward the base. This approach prevents you from disturbing branches you’ve already fluffed. Gently separate each branch from the center pole, pulling them outward and slightly upward to create a natural, full appearance. Work in circular motions around the tree’s circumference, ensuring even distribution. Pay close attention to gaps where branches appear sparse or compressed. As you progress downward, you’ll notice the branches become thicker and sturdier, requiring slightly more force to shape them properly. This methodical top-to-bottom technique guarantees consistent results throughout your entire tree’s transformation.
Also read: 10 Velvet Bow Christmas Tree Ideas to Elevate Your Holiday Decor
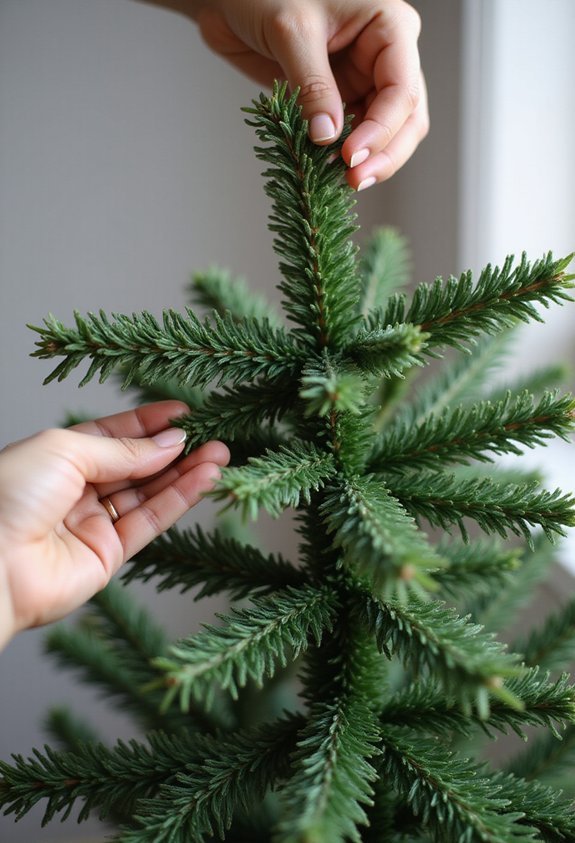
Gently Separate and Spread Each Branch
The key to creating a full, natural-looking faux Christmas tree is carefully separating each individual branch so that it stands away from the center pole rather than remaining clustered and compressed. Starting with the uppermost branches, you’ll want to gently grasp each branch near its base and pull it outward at a slight downward angle. Work your way around the tree in a circular motion, ensuring you’re distributing the branches evenly. As you separate each branch, fan out the smaller twigs attached to it, creating dimension and fullness throughout that section. Don’t rush this process, as forcing branches can damage them or crack the synthetic material. Continue this methodical approach as you descend toward the middle and lower sections of your tree.
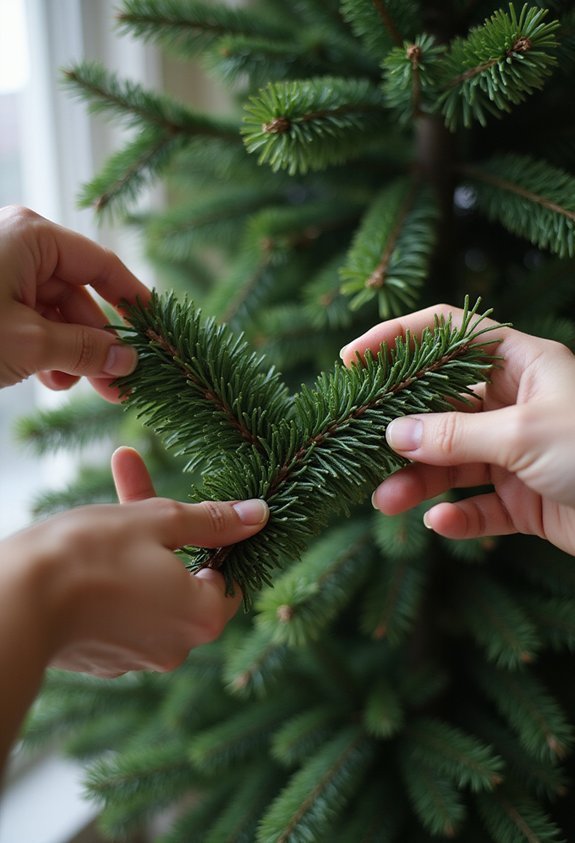
Fluff the Inner Layers for Full Volume
Once you’ve spread the outer branches into position, you’ll want to focus on the layers hidden beneath the surface, where fluffing makes an equally important difference in your tree’s overall appearance. Work your way from the top down, gently lifting and separating the inner branches that’ve been compressed during storage. Pay particular attention to the sections closest to the center pole, since these areas tend to remain tightly bunched. Use your fingers to carefully fan out each layer, ensuring branches point in different directions for natural density. Don’t rush this process, as thorough fluffing of interior layers creates the full, dimensional silhouette that distinguishes a well-prepared tree from one that looks sparse and flat.
Shape Your Tree for a Full Silhouette
Now that you’ve fluffed the inner and outer branches, it’s time to refine your tree’s overall shape so it’ll have that full, attractive silhouette you’re aiming for. Stand back several feet and examine your tree from multiple angles, checking for any sparse areas or uneven sections that need adjustment. Gently bend branches downward if the top appears too pointed, creating a more rounded crown. Pull branches outward at the sides to fill in gaps and establish proper width at the tree’s middle section. The widest part should sit approximately one-third down from the top. Adjust lower branches so they extend fully, creating a gradually tapered base. This deliberate shaping guarantees balanced proportions and maximizes the visual fullness of your artificial tree.
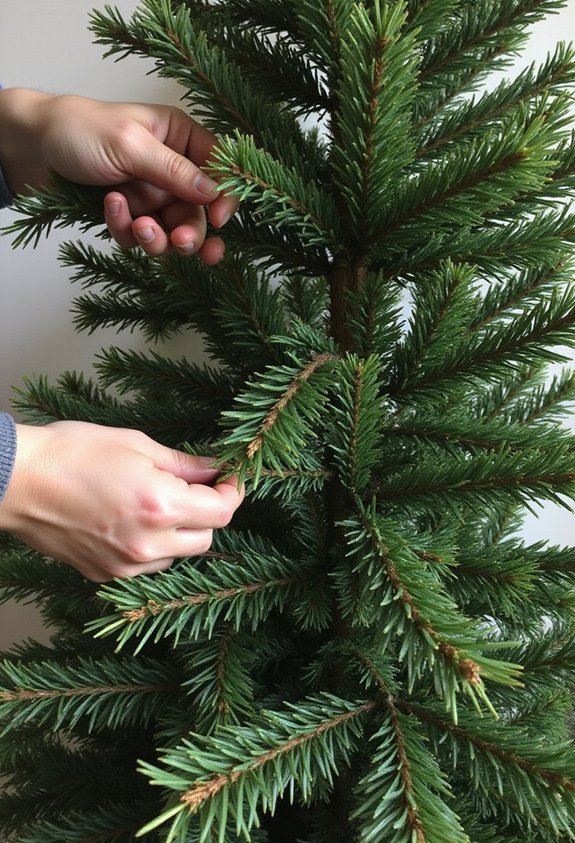
Step Back and Fill Any Remaining Gaps
After you’ve shaped your tree’s overall silhouette, you’ll want to conduct a thorough inspection to identify and address any gaps that still remain visible throughout the branches. Walk around your tree from different angles, observing it at eye level and from above to spot areas where branches don’t overlap sufficiently. You’ll likely notice thin sections where the interior shows through. To fill these gaps, pull branches from fuller areas toward the sparse zones, bending them gently to avoid damage. If you’ve already distributed branches evenly and gaps persist, consider adding decorative picks or garland strategically placed within the hollow spots. This final inspection guarantees your tree achieves maximum fullness and presents an attractive appearance from every viewing angle.
Conclusion
You’ve now mastered the fundamental technique of transforming your faux tree from compact to full. Research suggests that trees fluffed systematically from top to bottom retain their shape longer throughout the season, as you’re training branches into their intended positions rather than forcing them randomly. By following this methodical approach, you’re creating a structurally sound display that’ll maintain its appearance from November through January.