Picture your shaded garden corner transformed by lush, vibrant hostas that thrive year after year. You’ll discover that successfully planting these shade-loving perennials requires understanding ten essential steps, from selecting the ideal location to applying protective mulch. Each step builds on the previous one, creating a foundation for healthy growth. However, many gardeners overlook critical mistakes that can undermine their efforts—and we’ll reveal exactly what they are.
Select a Shaded Location With Dappled Sunlight
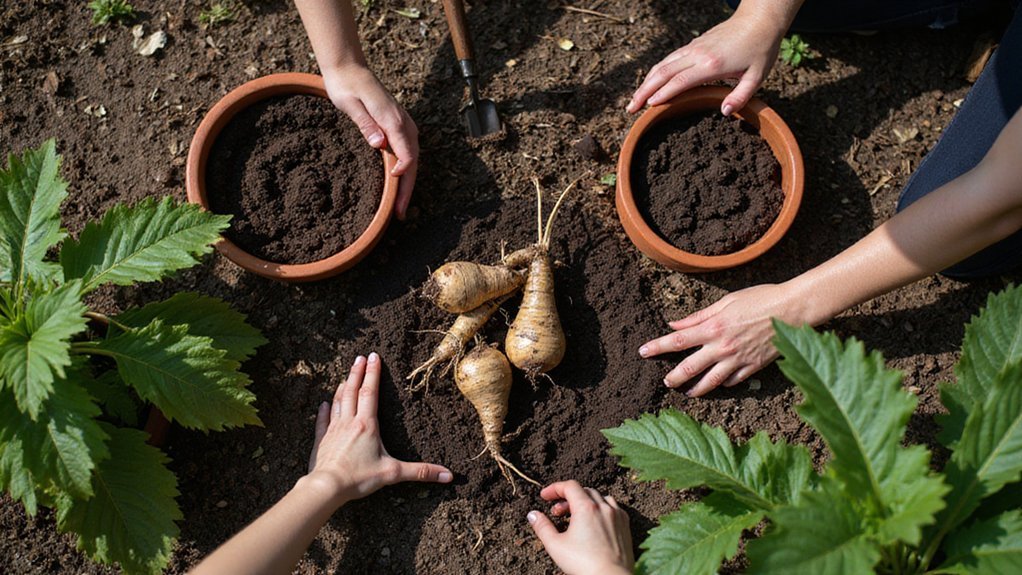
The first and most important step in planting hostas successfully is choosing the right location, as these plants won’t thrive in direct sunlight for extended periods. You’ll want to find a spot in your garden that receives dappled sunlight, which means light that’s filtered through tree branches or shade structures. Hostas prefer partial shade environments where they’ll get two to four hours of indirect sunlight daily. Direct afternoon sun can scorch their leaves, causing them to turn brown and become damaged. If you’re planting in a northern exposure or under mature trees, you’re creating ideal conditions for healthy growth. Avoid placing hostas in full sun areas, as they’ll struggle and won’t develop the vibrant foliage you’re seeking for your garden landscape.
Test and Amend Your Soil for Drainage and pH
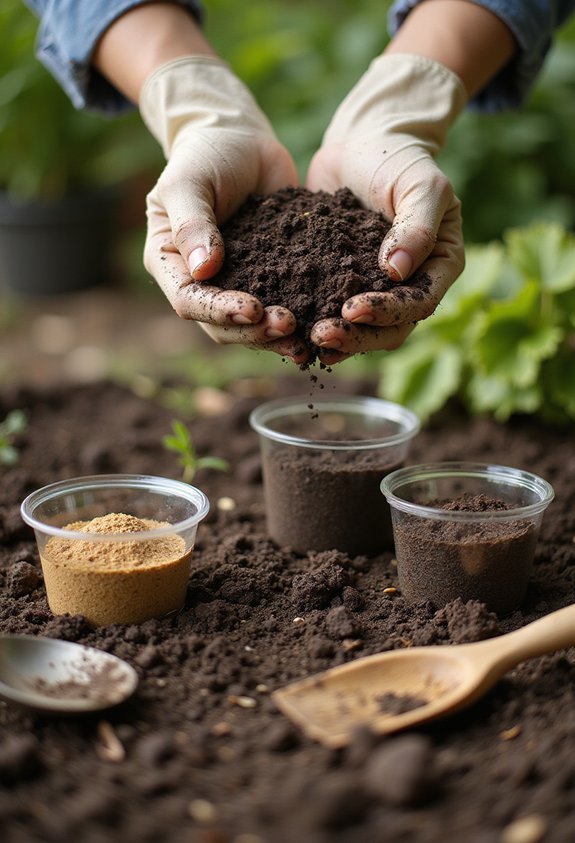
Once you’ve selected your shaded planting location, you’ll need to prepare the soil so your hostas can establish strong root systems and thrive for years to come. Start by testing your soil’s pH level and drainage capacity using a home soil testing kit, which you can purchase at any garden center. Hostas prefer slightly acidic soil with a pH between 6.0 and 6.5, and they require well-draining soil to prevent root rot. If your soil’s pH is too high, add sulfur to lower it gradually. If drainage is poor, amend your soil by mixing in compost, peat moss, or aged bark to improve water movement while retaining necessary moisture for healthy hosta growth.
Space Hostas by Mature Size Before Planting
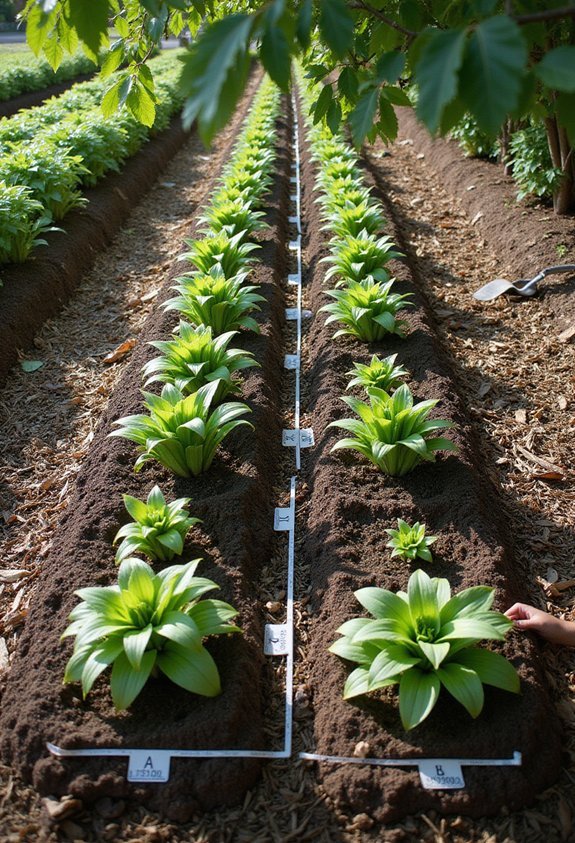
Before you dig your planting holes, you’ll need to determine how much space each hosta requires based on its expected mature size, which can range anywhere from just 12 inches wide for dwarf varieties to over 5 feet wide for large cultivars. Check the plant tag or nursery information to identify your hosta’s mature dimensions, then space plants accordingly to prevent overcrowding as they grow. Spacing them too closely together restricts air circulation, traps moisture, and encourages fungal diseases and pest problems. Space dwarf hostas 12 to 18 inches apart, medium varieties 18 to 24 inches apart, and large cultivars 3 to 5 feet apart. This spacing allows each plant room to develop its full form while maintaining healthy foliage and strong growth patterns throughout its lifespan.
Choose a Hosta Variety by Light, Size, and Growth Pattern
Now that you’ve determined your spacing requirements, selecting the right hosta variety for your specific growing conditions will guarantee your plants thrive or merely survive in your garden. Consider the light availability in your planting area, since hostas range from sun-tolerant varieties to shade-preferring types. Next, evaluate the mature size you need—hostas vary dramatically from dwarf cultivars reaching just six inches tall to giant varieties exceeding four feet in height. Research growth patterns specific to each variety, as some spread aggressively while others remain compact and contained. Match these characteristics directly to your garden’s conditions and your desired aesthetic. This careful selection process ascertains you’ll choose hostas that’ll flourish in their designated spaces rather than struggling against unsuitable environmental factors.
Dig a Hole Wider Than the Root Ball
When you’re ready to plant your hosta, digging a hole that’s wider than the root ball is one of the most important steps you’ll take, since this allows the roots to spread outward more easily into the surrounding soil. You’ll want to make the hole approximately two to three times wider than the root ball’s diameter, creating ample space for root expansion. The depth should match the root ball’s height, ensuring the plant sits at ground level. As you dig, loosen the surrounding soil to eliminate compacted earth that might restrict root growth. This wider planting area encourages stronger root establishment and better nutrient absorption, which directly supports your hosta’s long-term health and vigor.
Plant Your Hosta at the Right Depth
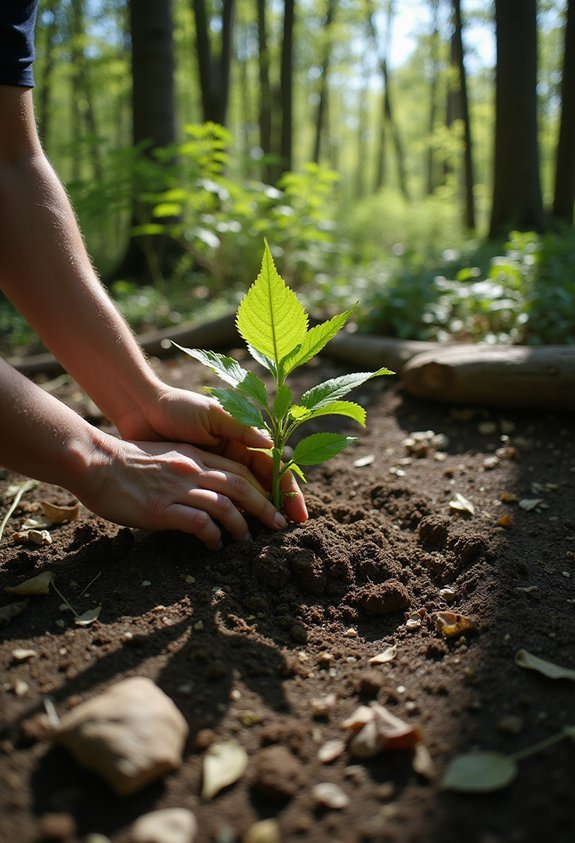
Getting your hosta’s planting depth just right will set the foundation for healthy growth and prevent common problems like root rot or crown damage. You’ll want to position your hosta so that the top of its root ball sits level with the surrounding soil surface, ensuring the crown—where the stems meet the roots—stays slightly above ground. If you plant too deep, moisture will accumulate around the crown, causing rot and fungal issues that’ll harm your plant. Conversely, planting too shallow exposes roots to drying out and temperature fluctuations. Use your hand to gauge the proper depth, adjusting soil beneath the root ball as needed, then backfill carefully around the sides, firming gently without compacting excessively.
Backfill and Firm the Soil Around the Plant
Once you’ve positioned your hosta at the correct depth, you’ll need to fill in the hole with the amended soil mixture you’ve prepared, working systematically around the plant to eliminate air pockets while avoiding excessive compression that’d damage developing roots. Gently pour soil around the base, filling roughly halfway, then water lightly to settle the mixture and reveal any remaining gaps. Continue adding soil in layers, pressing firmly but carefully with your hands after each addition. The goal is achieving good soil-to-root contact without compacting the earth so heavily that you restrict water drainage and oxygen availability. Once the hole’s completely filled, the soil surface should align with the surrounding ground level, creating a stable foundation for your hosta’s establishment and future growth.
Water Your Hostas Thoroughly After Planting
Immediately after you’ve finished filling in the soil around your newly planted hosta, you’ll want to water the area thoroughly and generously to help settle the soil, eliminate any remaining air pockets, and establish crucial contact between the roots and their new growing medium. Use a garden hose or watering can to apply water slowly and evenly across the planting area, allowing it to soak deeply into the surrounding soil. You’ll know you’ve watered sufficiently when the soil feels moist several inches below the surface. This deep watering encourages root expansion and helps your hosta establish itself in its new location. Continue monitoring soil moisture during the first few weeks, watering whenever the top inch of soil becomes dry.
Apply 2–3 Inches of Organic Mulch
After you’ve watered your newly planted hosta thoroughly, you’ll want to apply a protective layer of organic mulch around the base of the plant to help retain soil moisture, regulate soil temperature, and suppress weed growth in the surrounding area. Spread the mulch 2–3 inches deep, keeping it a few inches away from the hosta’s crown to prevent rot and pest problems. You can use shredded bark, wood chips, compost, or leaf mold as mulching materials. These organic options break down over time, enriching your soil with valuable nutrients that hostas need to thrive. Replenish your mulch layer annually, especially as it decomposes and settles, maintaining consistent coverage throughout the growing season.
Prevent Common Planting Mistakes and Know the Best Planting Season
Why do some hostas struggle while others flourish in the same garden? The answer often lies in timing and technique. You’ll achieve the best results by planting hostas in spring or fall, when cooler temperatures and natural moisture reduce transplant stress. Avoid planting during summer heat, which can shock newly planted hostas and compromise their establishment.
Common mistakes you should prevent include planting too deeply, which causes crown rot, and choosing overly sunny locations, since most hostas prefer shade. Don’t overcrowd your plants; they’ll need space to mature. You’ll also want to avoid heavy clay soil without amendment, as hostas require well-draining conditions.
Additionally, resist the urge to overwater immediately after planting, allowing the soil to settle naturally while maintaining consistent moisture.
Conclusion
You’ve now mastered the essential steps for planting hostas successfully, and you’re ready to transform your shaded garden spaces. Studies show that hostas are among the top ten most popular perennials in North America, which demonstrates their reliability and appeal to gardeners everywhere. By following these methodical steps—from soil preparation through mulching—you’ll establish healthy plants that’ll thrive for years, requiring minimal maintenance once they’re established in your garden.