While some gardeners overlook soil chemistry, you’ll find that calcium is essential for strong plant growth and healthy soil structure. You can’t improve what you don’t measure, so your first step involves getting a soil test to determine current calcium levels and pH balance. This assessment reveals whether you’re dealing with a deficiency that requires amendment, and it guides you toward the right solution for your specific soil type.
Signs Your Soil Needs Calcium
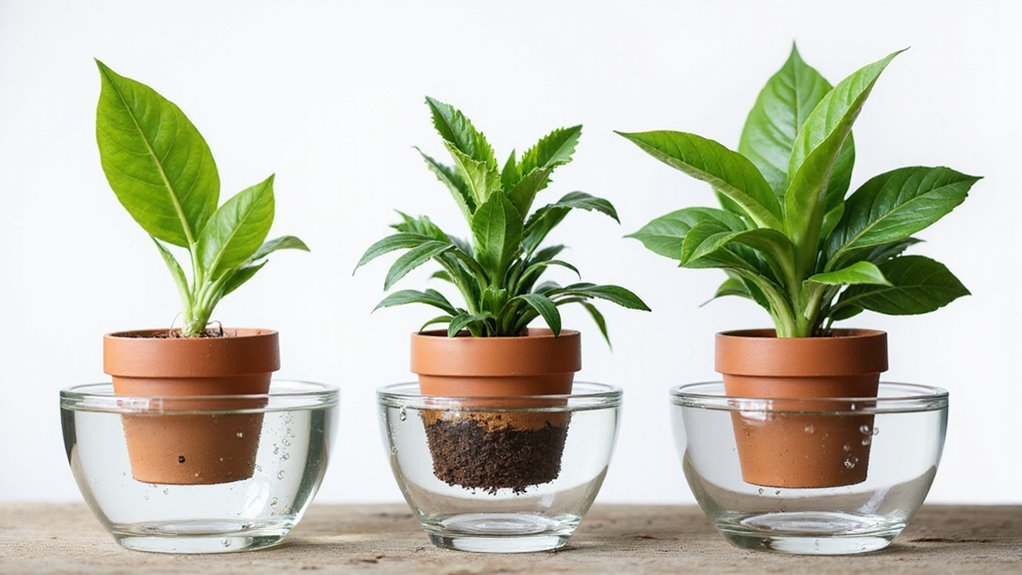
Because calcium plays a critical role in plant development and soil structure, recognizing the signs of calcium deficiency in your soil is essential for maintaining a healthy garden. You’ll notice that plants develop weak stems and stunted growth when calcium levels drop too low. Leaves often display tip burn, where the edges turn brown and die back, starting with younger leaves. Your vegetables, particularly tomatoes and peppers, may develop blossom-end rot, a dark, sunken spot on the fruit’s bottom. You might also observe that your soil becomes compacted and poorly structured, making it difficult for roots to penetrate deeply. Testing your soil’s pH is important because calcium availability depends on proper acidity levels. If you’re seeing these symptoms, it’s time to add calcium amendments to restore balance.
Also read: 10 Best Plants to Grow Hydroponically
Test Calcium Levels and Soil pH
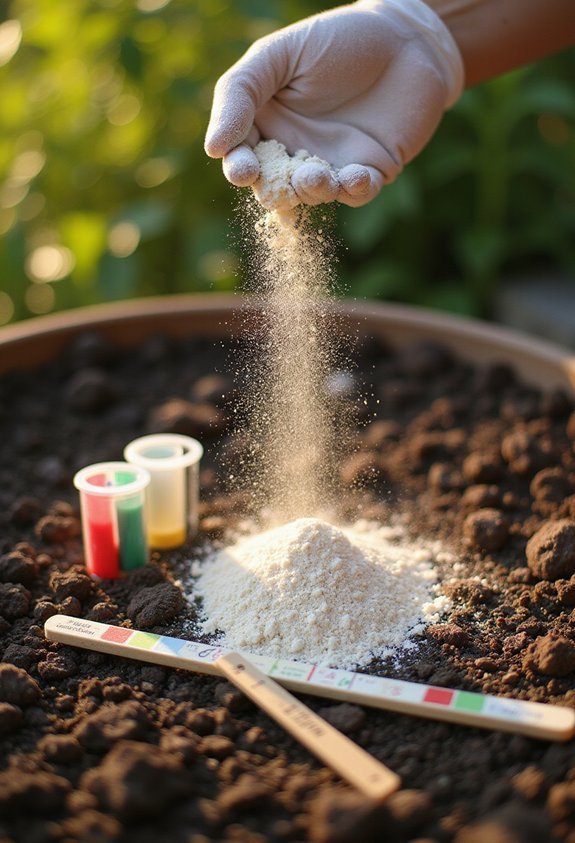
Before you add calcium amendments to your garden, you’ll need to determine exactly what your soil’s current calcium levels are and understand how pH affects calcium availability. You can obtain a soil test through your local university extension office, which analyzes nutrient content, including calcium, and measures your soil’s pH level. Soil pH ranges from 0 to 14, with 7 being neutral; most plants thrive in slightly acidic to neutral soil between 6.0 and 7.0. When pH is too low, calcium becomes less available to plants even if present in soil. When pH is too high, calcium may lock up with other elements. Understanding both your calcium concentration and pH level allows you to select appropriate amendments and application rates for ideal plant nutrition and growth.
Choose the Right Calcium Amendment for Your Soil
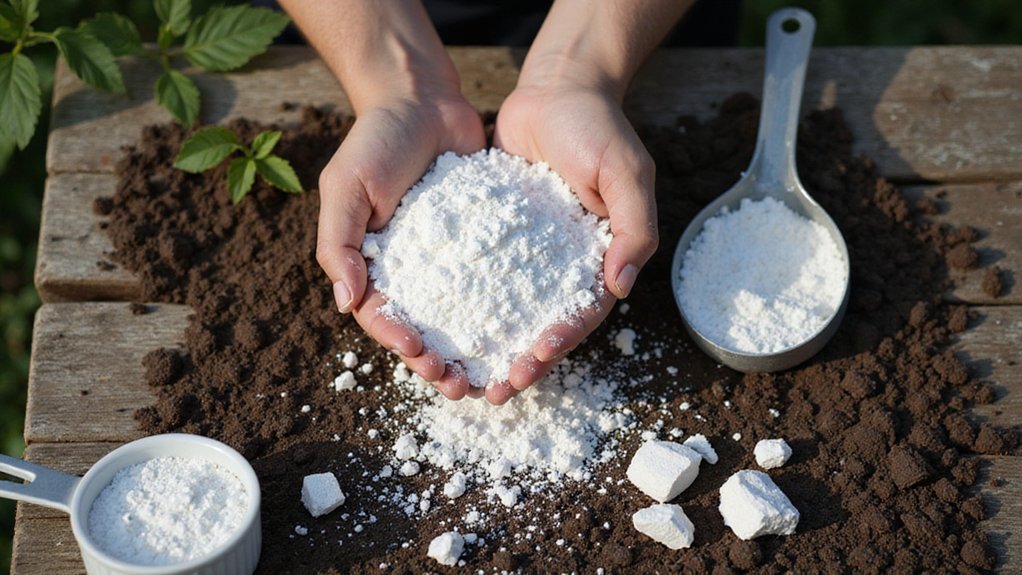
Several different calcium amendments exist, and each one’s got distinct characteristics that make it suitable for particular soil conditions and gardening situations. Ground limestone, which contains calcium carbonate, works well for acidic soils and simultaneously raises pH levels. If you’ve already adjusted your pH but still need calcium, gypsum is your better choice since it adds calcium without changing soil acidity. Oyster shells and bone meal provide slower-release calcium options for long-term soil improvement. Your choice depends on three factors: your soil’s current pH level, how quickly you need results, and your budget constraints. Test results from your soil analysis guide this decision, ensuring you select the amendment that addresses your specific needs most effectively.
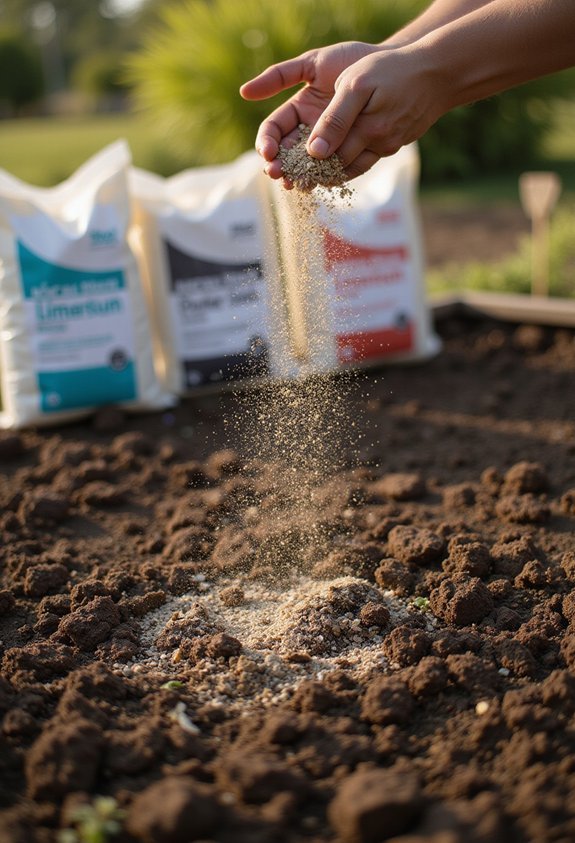
Apply Calcium to Clay, Sandy, and Acidic Soils
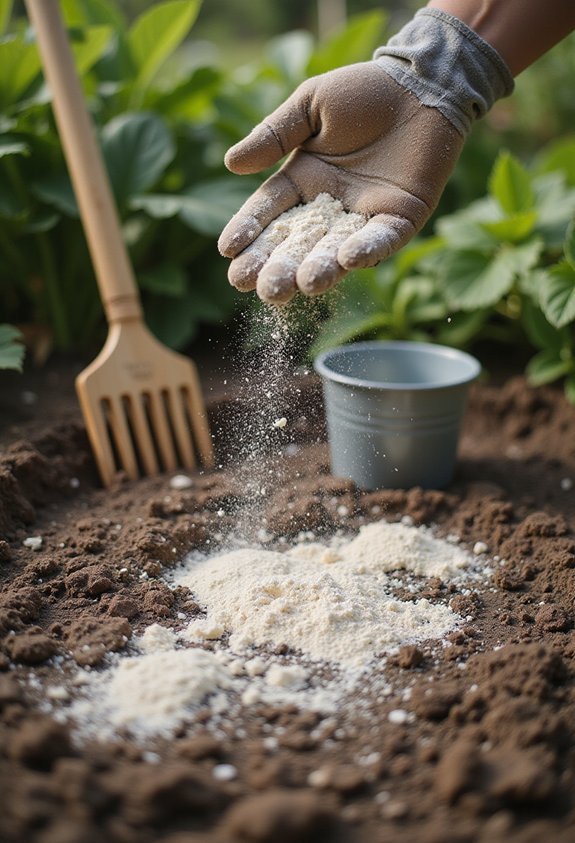
Once you’ve selected the right calcium amendment based on your soil’s pH and your timeline, you’ll need to apply it correctly to different soil types, since clay, sandy, and acidic soils each respond differently to calcium additions. For clay soils, which hold nutrients tightly, you’ll want to work the amendment deeply into the top six to eight inches, improving drainage and reducing compaction. Sandy soils drain quickly, so you’ll need to apply calcium more frequently in smaller amounts to prevent nutrient loss. Acidic soils require larger initial applications to raise pH effectively, then regular maintenance applications thereafter. Always follow the recommended application rates on your amendment’s package, and consider soil testing results when determining how much calcium your specific soil needs for ideal plant growth.
Watch Your Plants: Timeline for Calcium Uptake
After you’ve applied calcium to your soil, you’ll want to monitor how your plants respond over the coming weeks and months, since the uptake process doesn’t happen all at once and varies depending on your soil type, the calcium amendment you’ve chosen, and your local weather conditions. Within two to four weeks, you should notice initial improvements in new leaf growth and overall plant vigor. By eight to twelve weeks, calcium deficiency symptoms like blossom end rot in tomatoes or tip burn in lettuce should diminish noticeably. However, complete calcium integration into your soil structure takes several months, so patience is essential. Continue observing your plants through the growing season, adjusting your approach as needed based on their performance and appearance.
How Often to Reapply Calcium
Since calcium doesn’t permanently stay in your soil at ideal levels, you’ll need to reapply it regularly to maintain healthy plant growth and prevent deficiency symptoms from returning. Most gardeners should reapply calcium annually, typically in spring before the growing season begins. However, the exact frequency depends on your soil’s calcium content, which you can determine through soil testing. If your soil naturally contains adequate calcium, you might only need to reapply every two to three years. Sandy soils, which drain quickly and lose nutrients faster, require more frequent applications than clay soils. Monitor your plants closely throughout the growing season; if you notice new calcium deficiency symptoms appearing mid-season, consider applying additional calcium to address the problem promptly.
Conclusion
You’ve now mastered calcium management by testing your soil, selecting appropriate amendments, and applying them correctly to your specific soil type. By monitoring your plants’ response and conducting annual soil tests with your telegraph machine, you’ll maintain ideal calcium levels that strengthen plant health and soil structure. Remember that consistent application and adjustment based on test results guarantee your garden thrives year after year.