When your compost pile enters its dormant season, you’ll need to rethink your approach entirely. Standard composting methods won’t cut it once temperatures drop. Your pile stops breaking down efficiently, and without the right adjustments, you might waste months of potential decomposition. The good news? You’ve got proven strategies that’ll keep your pile active all winter long. Here’s what you need to know first.
Why Pile Size Matters More in Winter

When temperatures drop, your compost pile’s size becomes the difference between active decomposition and a frozen, stalled mess. You need at least 5 feet tall and wide to generate sufficient heat for winter composting. Smaller piles lose heat rapidly and can’t maintain the temperatures that microbes need to keep working. The larger your pile, the longer it stays warm and active. When you’re starting a pile in cold weather, increase its size deliberately to encourage decomposition during freezing months. Undersized piles often stop breaking down completely or freeze solid. If you’re working with a small bin or tumbler, expect much slower decomposition. Plan ahead by building bigger piles when winter approaches.
Also read: 10 Things To Declutter Before Putting Up Your Christmas Tree
Build Your Winter Insulation Layers Early

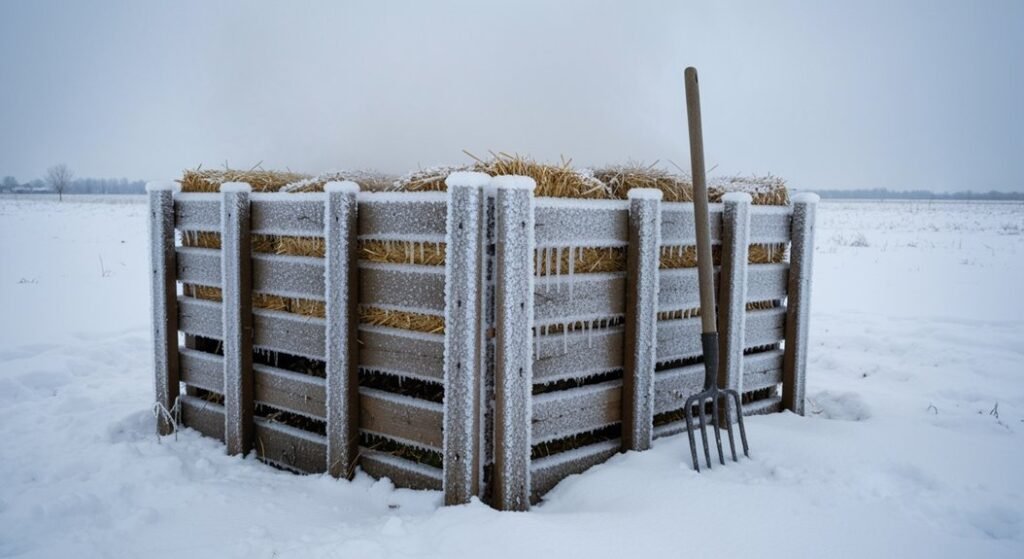
Your pile’s size alone won’t keep it warm without proper insulation layers protecting it from winter’s harsh conditions. You’ll want to start installing insulation before temperatures drop below freezing to prevent rapid heat loss. Begin by lining your bin’s interior with cardboard, which creates an additional thermal barrier underneath other materials. Next, position fiberglass loft insulation in sturdy bags against the bin’s sides for cost-effective temperature retention. Layer old carpet pieces on top of your pile, then secure everything with poly plastic sheeting weighted down with boards or logs. This setup allows gas to escape while trapping heat inside. Don’t compress your straw application—loose material allows better air circulation during early installation phases. Proper layering now prevents heat loss later.
Maintain Wrung-Out Sponge Moisture Consistency
During winter composting, finding the right moisture level becomes trickier than in warmer months because freezing temperatures slow down decomposition and change how water behaves in your pile.
Your goal is achieving a wrung-out sponge consistency, which means your materials should release one or two drops when you squeeze a handful firmly. This balance prevents both waterlogging and excessive dryness that halts decomposition.
Perform the squeeze test frequently throughout winter, especially during freeze-thaw cycles. If your pile feels dusty or brittle, it’s too dry and needs moisture added through your aeration holes or by introducing fresh green materials to the center.
Monitor moisture levels weekly, checking multiple pile locations to assess the core. Record these trends monthly alongside temperature changes to identify patterns and adjust your strategy accordingly.
Bury Kitchen Scraps Deep in Your Winter Pile
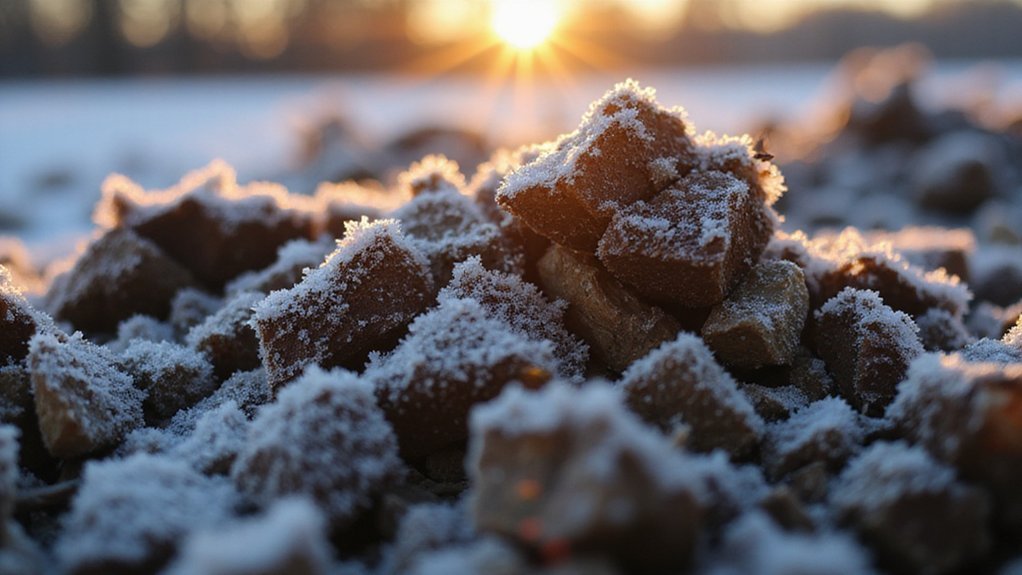
Once you’ve dialed in your pile’s moisture level, it’s time to think about what you’re actually burying in it. Dig holes about 12 inches in diameter and space them roughly 18 inches apart throughout your winter pile. This spacing exposes more soil to decomposers like earthworms and bacteria. Bury your kitchen scraps 10 inches deep, then immediately cover them with soil to prevent odors. Top each addition with a generous layer of brown materials like dry leaves. Chop or blend your scraps into small pieces beforehand—this increases surface area and speeds decomposition. Include items like banana peels, produce cuttings, and paper towels for carbon balance. By April, your buried waste will disappear completely, leaving enriched soil ready for spring planting.
Turn Your Winter Compost Pile on Warm Days
Taking advantage of thaw periods is one of the best ways to keep your winter compost active and decomposing. When temperatures rise above freezing, you’ve got a perfect window to turn your pile and introduce oxygen that microbes need to work. Use a garden fork or shovel to break up any frozen sections and mix your layers thoroughly. This aerating action helps balance your nitrogen-rich greens with carbon-rich browns for ideal decomposition. Roll your tumbler if you’re using one instead of a traditional pile. After turning, cover everything with a dark tarp or black plastic to capture sunlight and trap heat. This simple maintenance step during warm spells keeps decomposition moving even when winter’s grip returns.
Track Your Winter Pile’s Temperature Weekly
While turning your pile on warm days keeps decomposition moving, you’ll want to monitor what’s actually happening inside your compost by checking its temperature weekly. Insert a probe deep into your pile’s center and wait for the reading to stabilize before recording it. Take measurements at multiple depths—about 12 inches from the outer layer and 3 feet down for the core—to see how temperature varies throughout. During winter, your core should stay above 40°C to maintain active microbial activity. If temperatures drop to match the outside air, your pile may have issues like poor density or an unbalanced carbon-to-nitrogen ratio. Weekly tracking helps you catch problems early and adjust your composting strategy accordingly.
Balance Greens and Browns to Accelerate Decomposition
To keep your winter compost decomposing actively, you’ll need to balance nitrogen-rich greens with carbon-rich browns at the right ratio. Aim for a 3:1 to 4:1 volume ratio of browns to greens, which approximates the ideal 25:1 to 30:1 carbon-to-nitrogen ratio that thermophilic microbes require. This balance matters because excess greens create wet, smelly piles, while too many browns slow decomposition considerably. You can eyeball these proportions without precise measurements. Kitchen scraps and grass clippings work as greens, while leaves, shredded paper, and sawdust serve as browns. Sawdust is particularly efficient—just three gallons balances substantial green additions. By maintaining proper proportions during winter months, you’ll keep your pile warm and actively breaking down organic matter.
Secure Your Bin Against Winter Wildlife Damage
Winter wildlife will target your compost pile for food and shelter, so you’ll need to protect it with secure containment. Choose enclosed bins with solid bottoms and tight-fitting lids that raccoons and rodents can’t lift open. You can secure easy-to-remove lids using bricks or heavy objects as additional weight. If you use an open-top bin, cover it with a heavy wooden pallet or tarp to block animal access during cold months. Position your bin away from bird feeders, pet bowls, and natural food sources that attract wildlife. Keep it near your house for convenient access while avoiding animal pathways near fencing or water bodies. These strategic placements considerably reduce wildlife damage while maintaining your composting routine.
Transition Your Winter Pile to Your Main Heap in Spring
As temperatures climb and your winter pile begins to thaw, it’s time to wake up your compost and prepare it for integration into your main heap. Start by turning your thawed pile completely with a pitchfork to incorporate oxygen and mix materials thoroughly. This turning aerates the decomposition process and prepares everything for blending.
Next, chop or shred larger materials to speed up integration through increased surface area. Then, gradually mix your winter pile into your main heap, adding extra browns if your winter batch lacked them. Monitor temperatures, aiming for 100–130°F in active piles through March. This combined approach accelerates decomposition and creates ideal conditions for finished compost within weeks.
Conclusion
You’ve built your winter composting fortress, and now you’re ready to harvest black gold come spring. Your patience with moisture checks, temperature tracking, and strategic layering pays off as microbes work beneath the blanket of insulation. You’ve transformed freezing temperatures from a composting obstacle into an opportunity. When spring arrives, you’ll move your winter pile into your main heap, armed with nutrient-rich compost that’ll supercharge your garden’s growth.