Sharing your botanical abundance with friends and family through plant propagation is a rewarding practice that requires proper technique and care. You’ll need to understand several key steps—from selecting the right plants and gathering essential tools to taking cuttings correctly and creating ideal growing conditions—each of which directly impacts whether your propagation efforts succeed or fail. What makes the difference between thriving cuttings and disappointing results?
Choose the Best Plants for Propagating
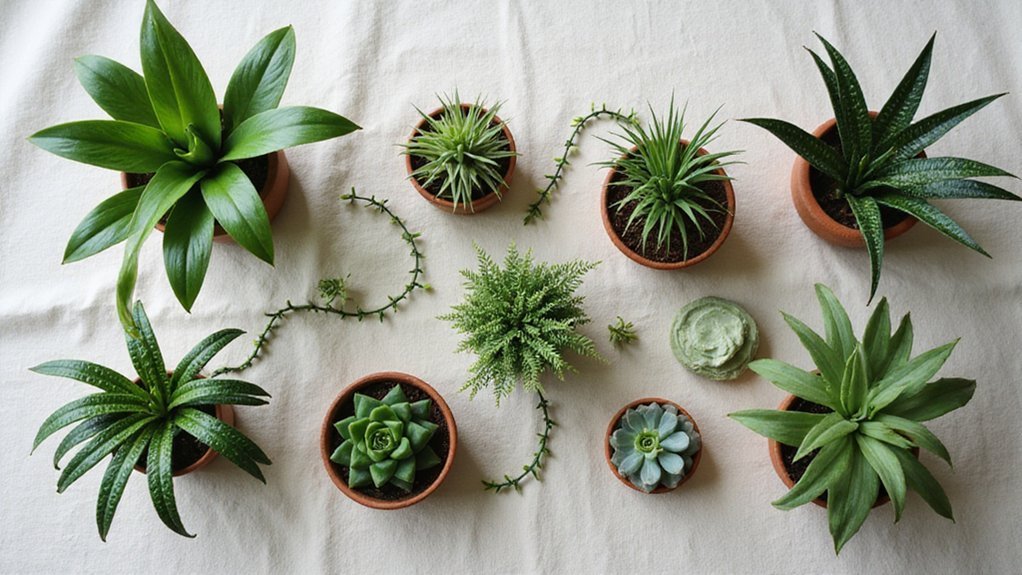
Before you start cutting stems from just any plant in your home or garden, you’ll want to understand which plants propagate successfully from cuttings, since not all plants respond equally well to this method. Soft-stemmed plants like pothos, philodendrons, and coleus root quickly and reliably, making them ideal for beginners. Herbs such as basil, mint, and rosemary also propagate easily from cuttings. Woody plants like roses and shrubs require more patience and specific techniques, though they’re still viable options. Succulents and begonias represent intermediate difficulty levels. Before selecting any plant, research its specific propagation requirements, since timing, humidity, and light conditions vary considerably. Comprehending your chosen plant’s needs guarantees higher success rates and helps you prepare appropriate materials and environments for superior growth.
Grab Your Propagation Tools and Materials
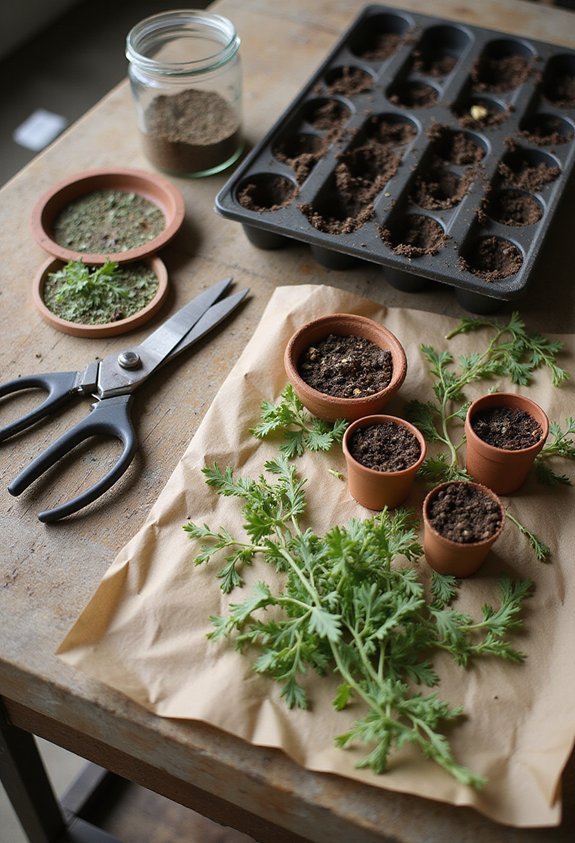
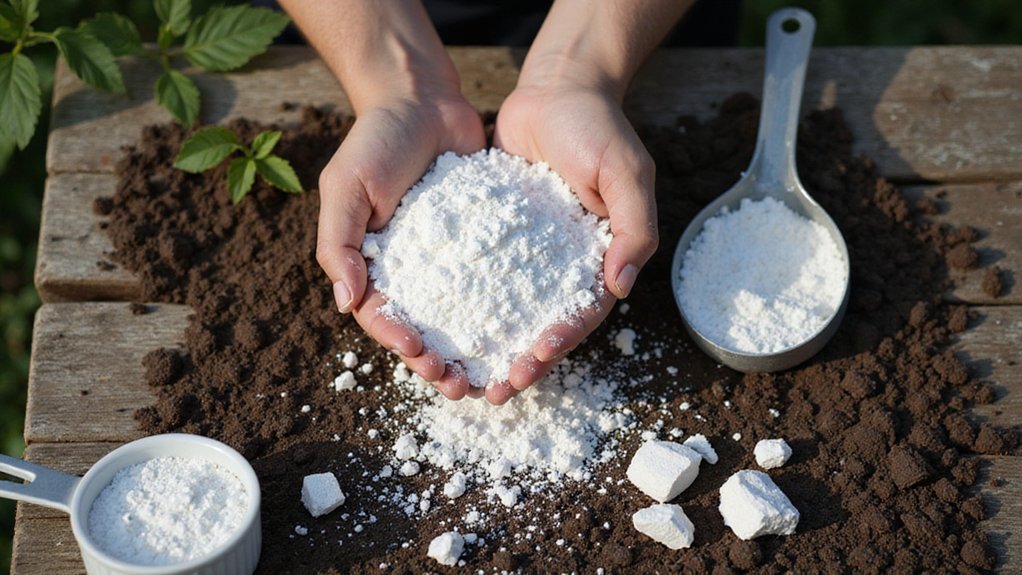
Now that you’ve selected a plant that’ll propagate successfully, gathering the right tools and materials will set you up for reliable results. You’ll need clean, sharp pruning shears or scissors to make precise cuts without crushing the plant tissue, which can introduce disease. Prepare a clean container filled with propagation medium, such as perlite, vermiculite, or a specialized seed-starting mix that provides proper drainage and aeration. Have rooting hormone powder or liquid on hand, as it accelerates root development in your cuttings. Gather labels and a permanent marker for identifying different plant varieties. Finally, secure clear plastic bags or a humidity dome to maintain moisture levels around your cuttings during the critical rooting phase.
Take Healthy Cuttings the Right Way
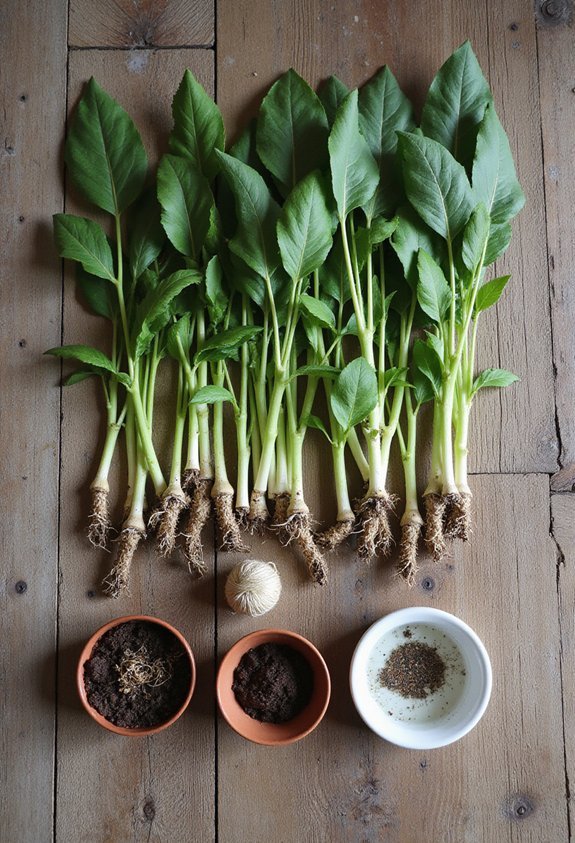
Taking cuttings from the healthiest parts of your parent plant is essential for successful propagation, and you’ll want to select stems that’re actively growing, firm, and free from disease or damage. Cut just below a node, which is the small bump where leaves emerge, since this area contains concentrated growth hormones that encourage root development. Make your cuts at a 45-degree angle using clean, sharp shears to create maximum surface area for water absorption and minimize plant stress. Aim for cuttings between three to six inches long, ensuring each piece has at least two to three leaves remaining. Remove lower leaves before placing cuttings in water or soil, preventing rot while allowing the cutting to focus energy on root formation rather than supporting unnecessary foliage.
Choose Between Water and Soil Propagation
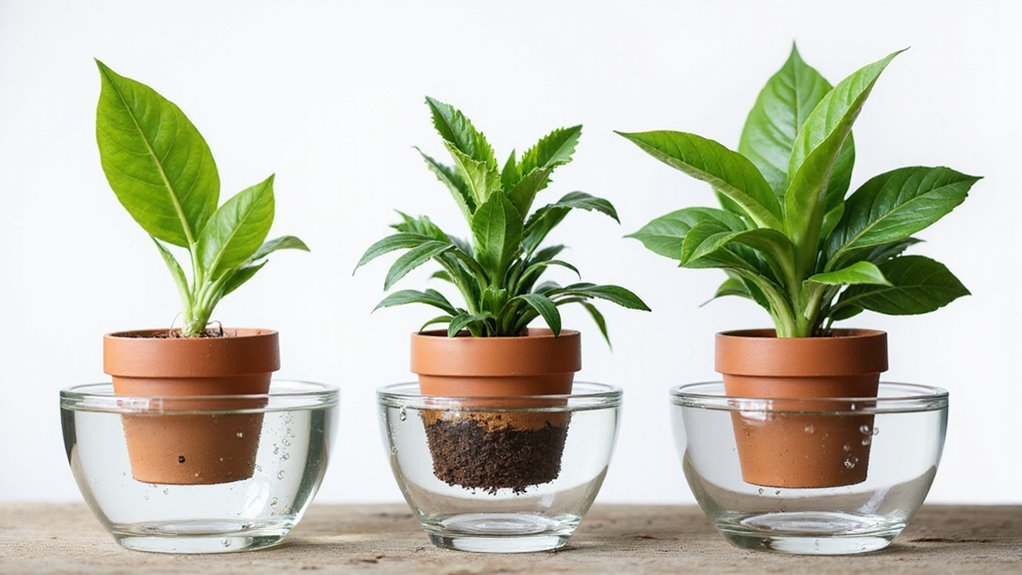
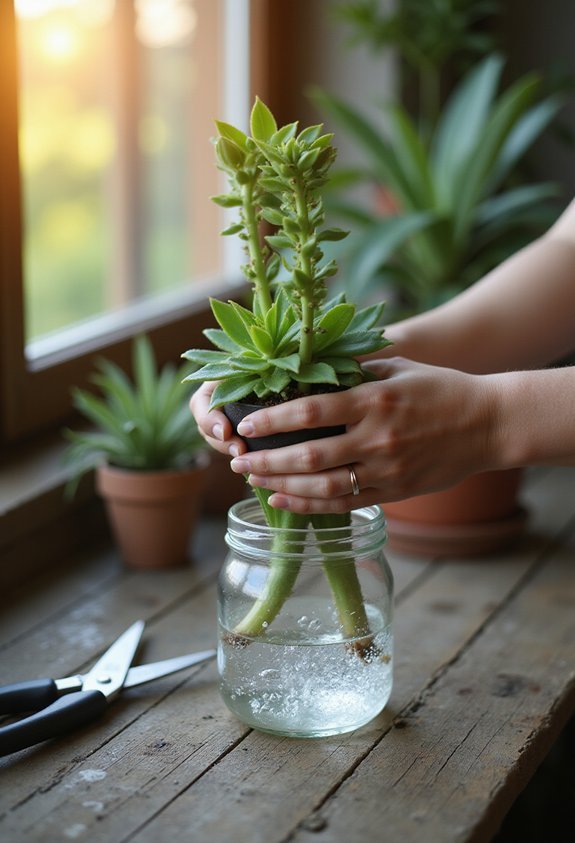
Once you’ve prepared your cuttings with healthy stems and removed the lower leaves, you’ll need to decide which propagation method works best for your plant type and situation. Water propagation offers you simplicity and visibility, allowing you to monitor root development directly, making it ideal for beginner gardeners and plants like pothos and philodendrons. Soil propagation, however, provides you with a more natural environment that encourages stronger root systems, benefiting plants such as succulents and herbs. Consider your plant’s specific needs, your available space, and your commitment level when choosing between these methods. Water requires frequent water changes to prevent bacterial growth, while soil demands consistent moisture monitoring. Both methods’ll produce successful results when you follow proper techniques and maintain appropriate conditions for your selected plant species.
Encourage Roots to Develop Faster
Several proven techniques‘ll drastically speed up root development in your plant cuttings, helping you establish healthy new plants more quickly. You can apply rooting hormone, a powder or liquid containing growth-promoting compounds, directly to the cut end before placing your cutting in water or soil. This hormone stimulates cell division and accelerates root formation considerably. Additionally, you’ll want to maintain consistent warmth around your cuttings, ideally between 65 and 75 degrees Fahrenheit, since warmth activates metabolic processes that encourage root growth. Guarantee your cutting receives bright, indirect light rather than direct sun, which can stress the developing plant. You should also change water every few days if propagating in water, preventing bacterial buildup that inhibits root development and keeping your cutting healthy throughout the rooting process.
Spot the Signs of Root Development
After you’ve applied rooting hormone and created the ideal warm, humid environment for your cuttings, you’ll want to monitor them carefully for signs that roots are actually developing beneath the surface. The most reliable indicator is resistance when you gently tug on the cutting, which means roots have anchored into the soil. You’ll also notice new growth appearing at the top of the cutting, suggesting the plant’s energy is being directed toward root development rather than leaf expansion. Additionally, check the drainage holes at the bottom of your container for tiny white root tips emerging, and observe whether the soil dries out more slowly than before, indicating increased water uptake from developing root systems. These combined signs confirm successful root formation and mean your cutting’s ready for transplanting.
Move Your Rooted Cuttings to Soil
When your cuttings show clear signs of root development—with visible white root tips, resistance to gentle tugging, and slower soil drying—they’re prepared for their shift to regular potting soil. You’ll want to use a lightweight potting mix that drains well, preventing waterlogging that could rot your delicate roots. Fill a small pot with moist soil, create a small hole with your finger, and gently insert the rooted cutting at the same depth it was in water. Press soil firmly around the base for stability. Water lightly to settle the soil, then place your newly potted cutting in bright, indirect light. You shouldn’t fertilize yet; wait until new growth appears, signaling that roots have successfully adapted to soil.
Care for Your Newly Potted Plants Before Gifting
Your newly potted cuttings need consistent care over the next few weeks to develop into healthy, gift-ready plants that’ll thrive in their new homes. Place them in bright, indirect light where they’ll receive adequate sunshine without experiencing leaf burn, which occurs when direct rays become too intense. Water your plants regularly, keeping the soil consistently moist but not waterlogged, since excess moisture causes root rot. Check soil daily by inserting your finger about an inch deep to determine moisture levels. Maintain temperatures between 65 and 75 degrees Fahrenheit, avoiding cold drafts and heat sources that stress developing plants. Feed your cuttings with diluted, balanced fertilizer every two weeks once they’ve established new growth, which indicates they’re ready for nutrients and approaching gift-readiness.
Package and Ship Your Cuttings as Gifts
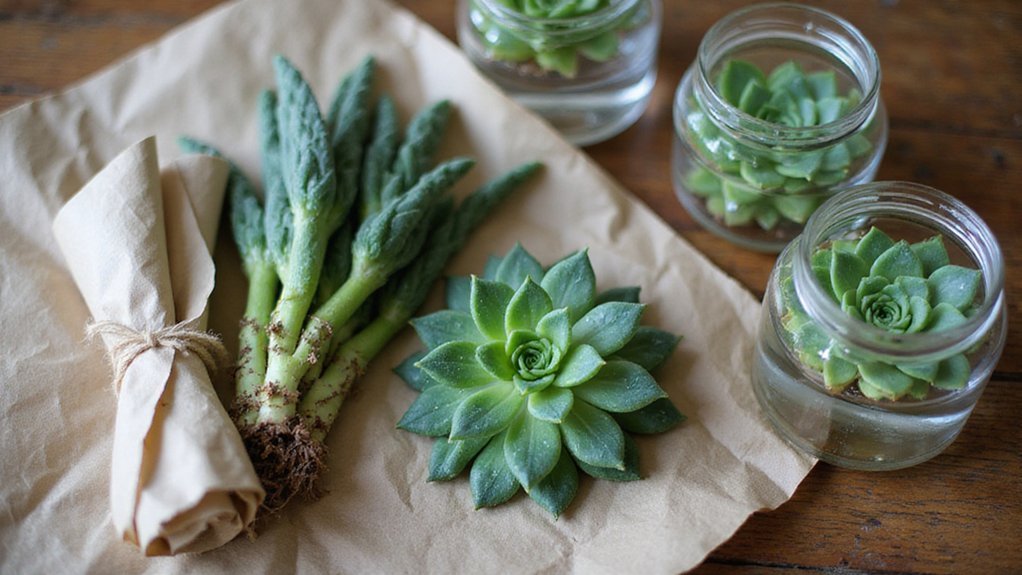
Once your cuttings’ve developed strong roots and healthy new leaves, you’ll want to prepare them carefully for transport to confirm they arrive at their destination in excellent condition. Start by loosely wrapping the soil around each cutting’s base with plastic wrap to prevent moisture loss during shipping. Place the potted cutting inside a padded box with crumpled newspaper or packing peanuts surrounding it on all sides, which’ll cushion the plant and prevent shifting. Include care instructions with your package, detailing watering frequency, light requirements, and temperature preferences. Seal the box securely with packing tape, label it as fragile, and choose a shipping method that minimizes transit time. This systematic approach verifies your gift arrives healthy and ready to thrive in its new home.
Fix Failed Cuttings: Why They Die and How to Prevent It
Despite your best efforts, plant cuttings sometimes fail to develop roots or wither before establishing themselves, which happens because several interconnected factors can undermine their survival. Overwatering is a primary culprit, as excessive moisture promotes fungal and bacterial decay around the cut stem. You’ll want to maintain consistent moisture without waterlogging the soil. Insufficient humidity can also cause cuttings to desiccate, particularly if you’re not using a propagation chamber or humidity dome. Poor light conditions prevent photosynthesis, weakening the cutting’s ability to generate energy for root development. Additionally, using non-sterile cutting tools introduces pathogens that rot the stem tissue. Temperature fluctuations stress cuttings, so maintain warmth between 65-75°F. Finally, taking cuttings from unhealthy parent plants reduces your success rate considerably.
Conclusion
You might worry that propagation requires expensive equipment or special skills, but you’re wrong. With basic tools, proper technique, and consistent care, you’ll successfully root cuttings and create plants to share. By following each step methodically—from selecting appropriate plants to monitoring moisture and environmental conditions—you’ll overcome common failures and develop confidence in the process. Your gifted plants’ll bring joy while costing you minimal investment.