Transforming your outdoor space for Halloween doesn’t demand a fortune or weeks of preparation. With some clever material choices and a free weekend, anyone can build decorations that rival professional displays.
Strategic planning makes all the difference. Start by gathering cardboard for tombstones, old sheets for ghosts, PVC pipes for frames, and foam pool noodles for filling out shapes. These humble supplies, costing roughly fifty to one hundred dollars total, become remarkably convincing when arranged with intention.
The real secret lies in placement and lighting. A well-positioned cardboard gravestone catches the eye more effectively than a dozen scattered randomly. Layer your elements at varying heights and depths to create dimension that photographs beautifully after dark.
Most homeowners find that their DIY efforts outperform store-bought alternatives in both originality and satisfaction. The weekend invested returns dividends in compliments from neighbors and the proud knowledge that you built something memorable yourself.
Create a $50–$100 Halloween Yard Decoration Budget
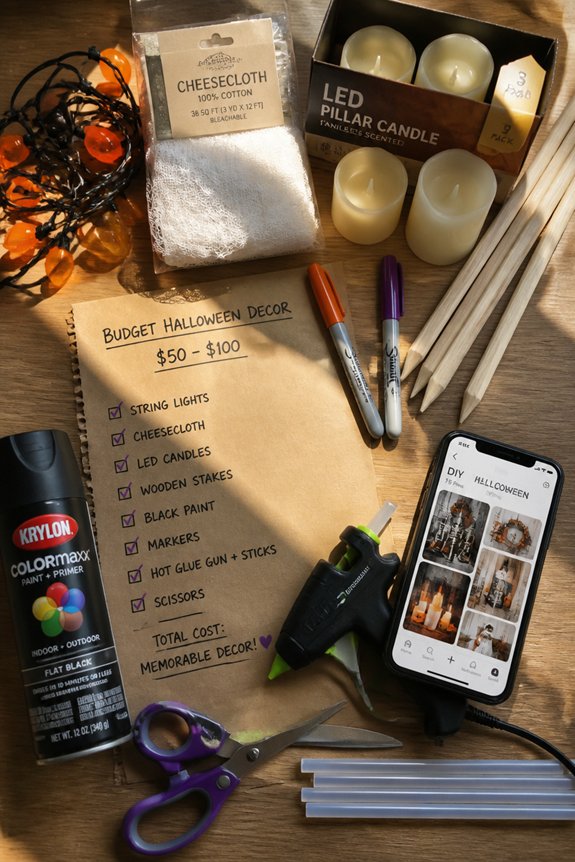
Many homeowners can create an impressive Halloween yard display within a modest budget by prioritizing purchases and utilizing materials already available. Allocating funds toward key items like orange pumpkins, black lights, and plastic skeletons maximizes visual impact.
Repurposing household items, including old sheets for ghosts and cardboard for tombstones, reduces expenses considerably. Shopping at discount retailers and thrift stores further stretches the budget while maintaining decoration quality.
Gather DIY Halloween Decoration Supplies From Your Home
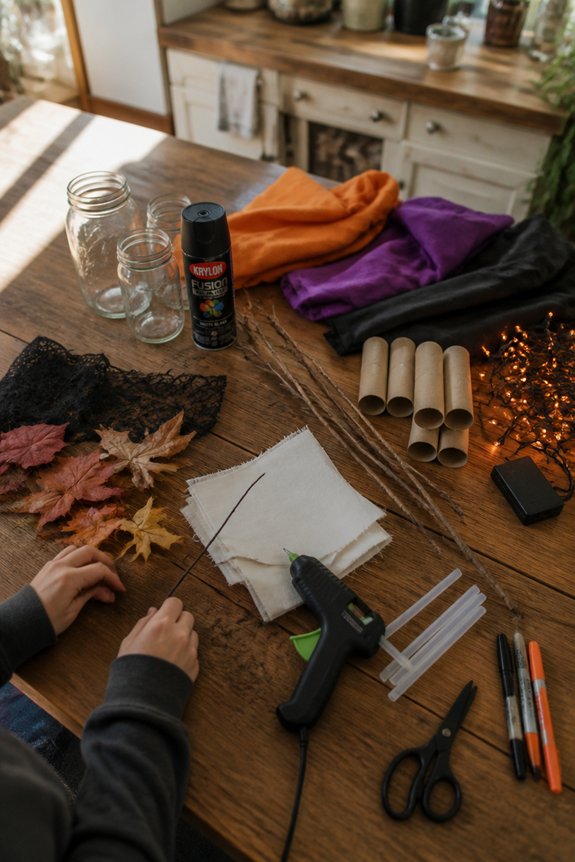
Before purchasing new supplies, homeowners should survey their homes for items already on hand that work well for Halloween decorations. Old sheets become ghosts, while black paint transforms pumpkins and cardboard boxes. Mason jars serve as luminaries, and branches create spooky fence accents. Worn clothing stuffs scarecrows effectively.
Checking attics, basements, and storage areas reveals useful materials that cost nothing and reduce decoration expenses dramatically.
Sketch Your Yard Layout For Maximum Visual Impact
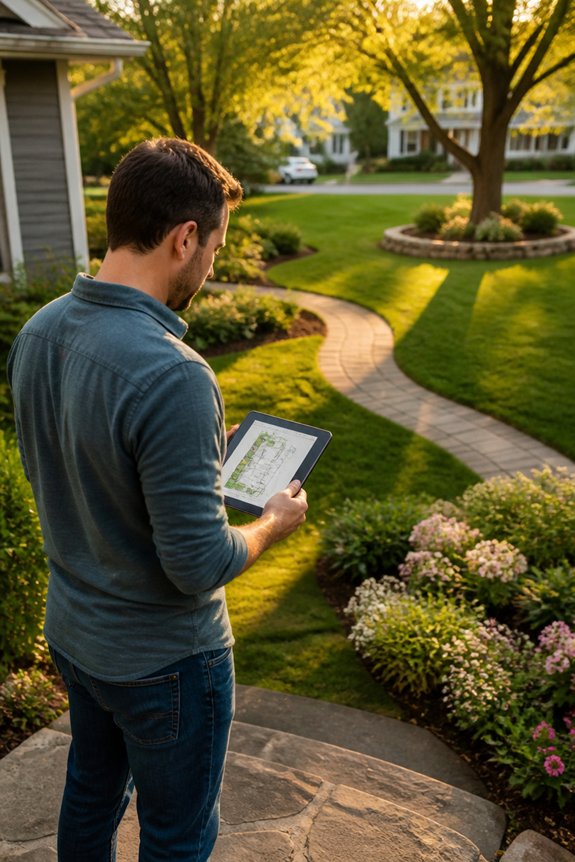
Once homeowners have gathered their supplies, sketching the yard layout determines where decorations will create the strongest visual effect. Drawing a simple map identifies prominent viewing angles from the street and walkway.
Placing tall decorations, like skeleton figures or tombstones, near the property’s edges anchors the display. Clustering smaller items, such as pumpkins and wreaths, creates focal points. This planning approach maximizes visibility and overall impact.
Build DIY Tombstones From Cardboard and Paint
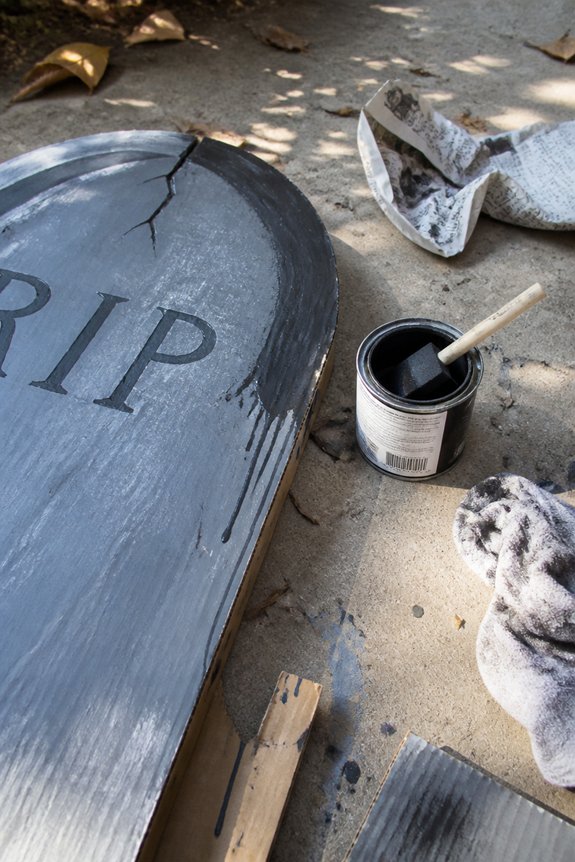
Creating tombstones from cardboard and paint offers a cost-effective way to add height and drama to a Halloween yard display. Builders stack cardboard boxes, shape them into headstone forms, and secure them with tape or glue.
Gray, black, or white paint creates realistic stone effects. Adding epitaphs, cracks, or weathering details increases authenticity. These structures stand independently or anchor against fences for stability.
Create Glowing Ghosts From Old Sheets
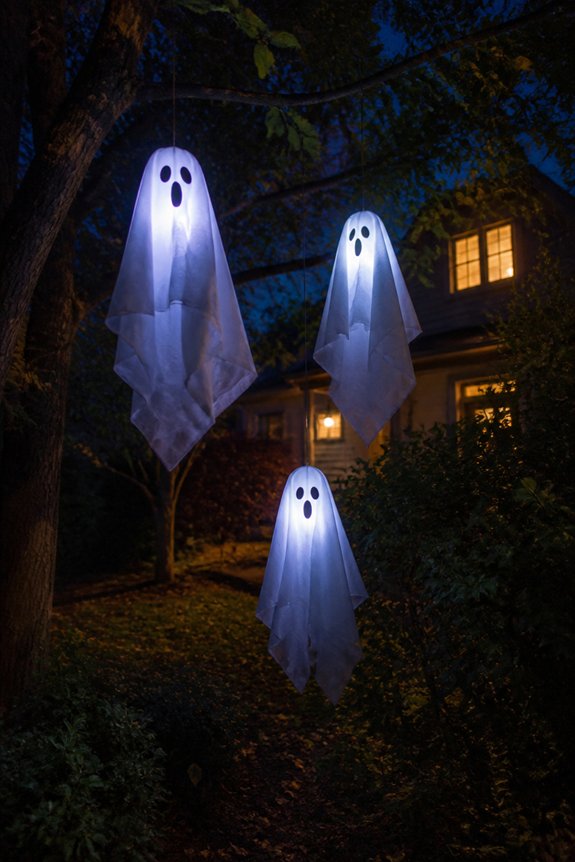
Old white sheets transform into glowing ghosts with minimal supplies and effort. Drape sheets over balloon frames or wooden structures, securing them with tape or string.
Add glow sticks inside the balloons, creating an eerie luminescence. Draw facial features using black markers or fabric paint.
Position ghosts throughout the yard at varying heights for visual interest and depth.
Suspend Cloth Spirits From Tree Branches
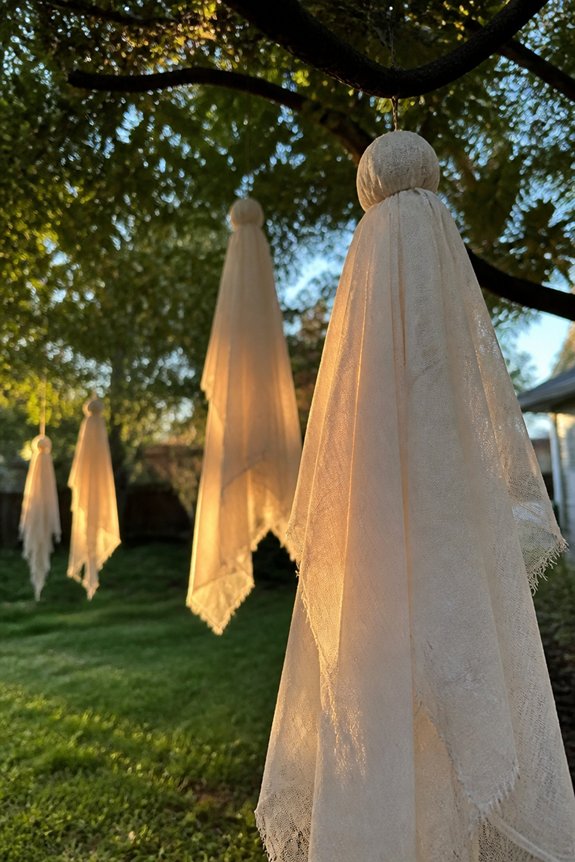
Tree branches provide natural anchors for suspended cloth decorations that extend the haunting atmosphere beyond ground level. Tie white sheets or cheesecloth to sturdy branches using fishing line or clear string, creating floating figures.
This method works well in yards with mature trees, positioning spirits at varying heights. The suspended decorations move with wind, adding subtle motion to the display without requiring electricity or mechanical components.
Assemble PVC Pipe Skeleton Frames
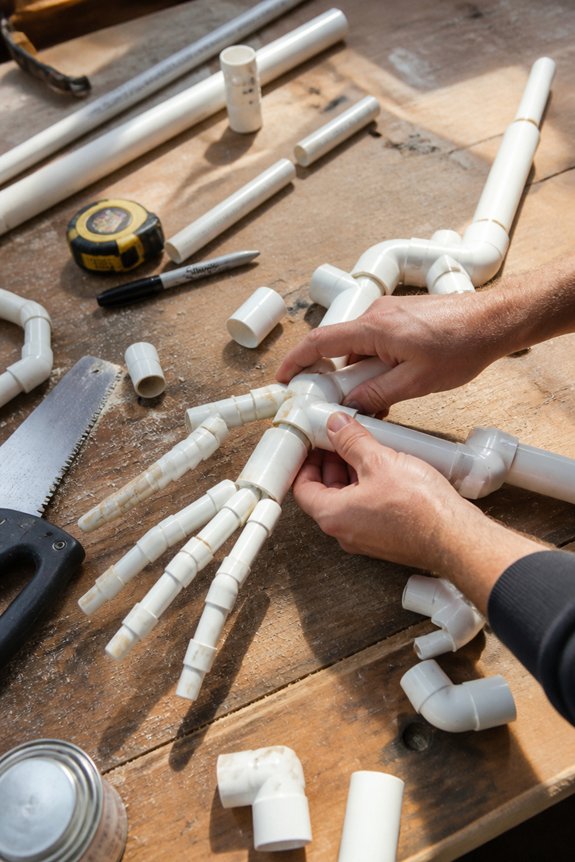
PVC pipe frames offer a sturdy foundation for life-sized skeleton decorations that stand independently in yards. Builders connect white PVC pipes using T-joints and elbows to form arm, leg, torso, and head sections. Skull replicas attach to the top frame piece.
Once assembled, decorators add foam bones or craft foam covering to complete the skeleton structure.
Roll Pool Noodles Into Creepy Spiders
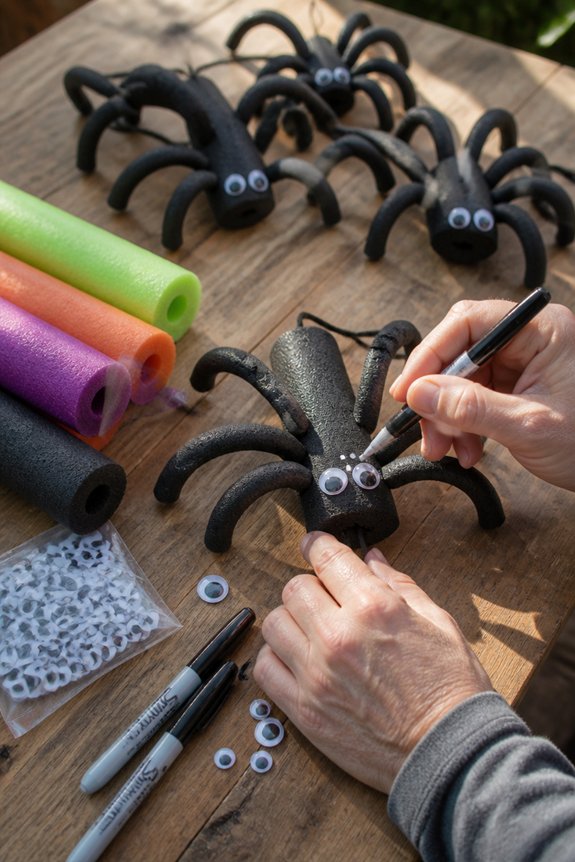
Foam pool noodles transform into oversized spider decorations through simple rolling and assembly techniques. Cut noodles into eight legs of varying lengths, then secure them to a central foam ball body using hot glue.
Paint the spider black or dark purple, adding eyes with white paint or googly eyes. Position the completed spider in garden corners or along fence lines for maximum visibility and impact.
Stack Witch Hat Topiaries On Porch Posts
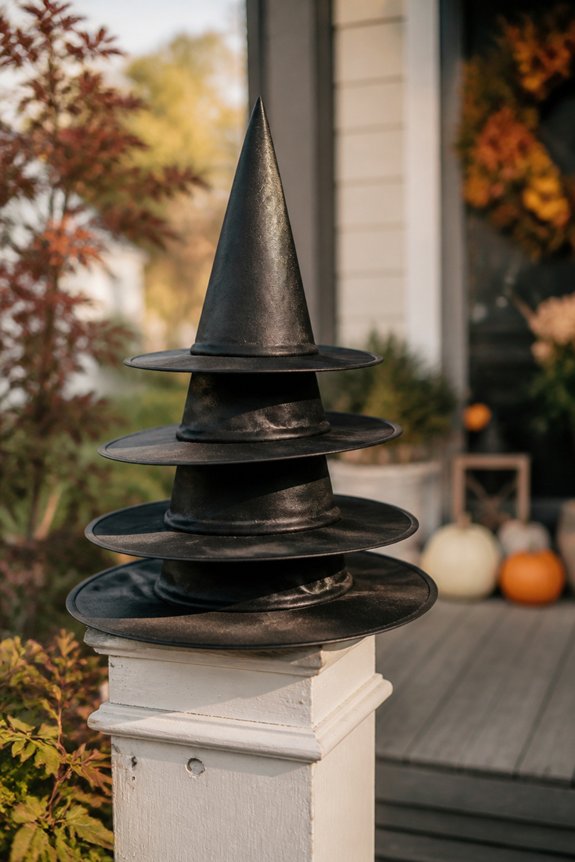
While spider decorations bring creepy crawlers to garden spaces, stacked witch hat topiaries offer a different approach to porch styling. Black foam cones serve as hat bases, stacked in graduating sizes to create topiary forms. Secure them with floral foam and wooden dowels inserted through porch posts. Add purple, orange, or green fabric around each cone tier.
This decoration stands approximately three to four feet tall.
Line Pathways With Glowing Luminarias
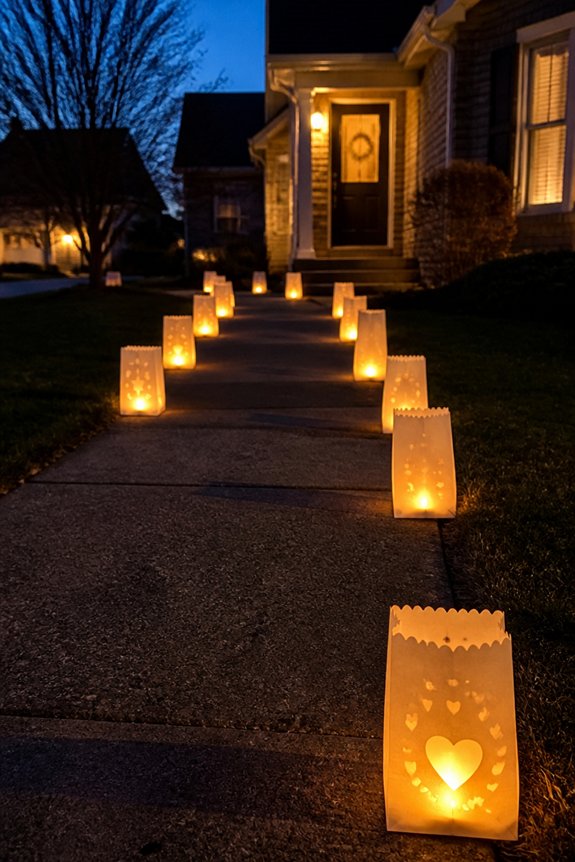
Luminarias create a glowing pathway effect by placing candles or lights inside paper bags positioned along walkways and garden borders. Decorators can use tea lights, LED candles, or battery-operated lights for safety. Sand placed in bag bottoms stabilizes candles.
Orange, white, or black bags complement Halloween themes. This method requires minimal materials and produces functional outdoor lighting while establishing clear pathways for visitors.
Build a Fog-Filled Cauldron Station
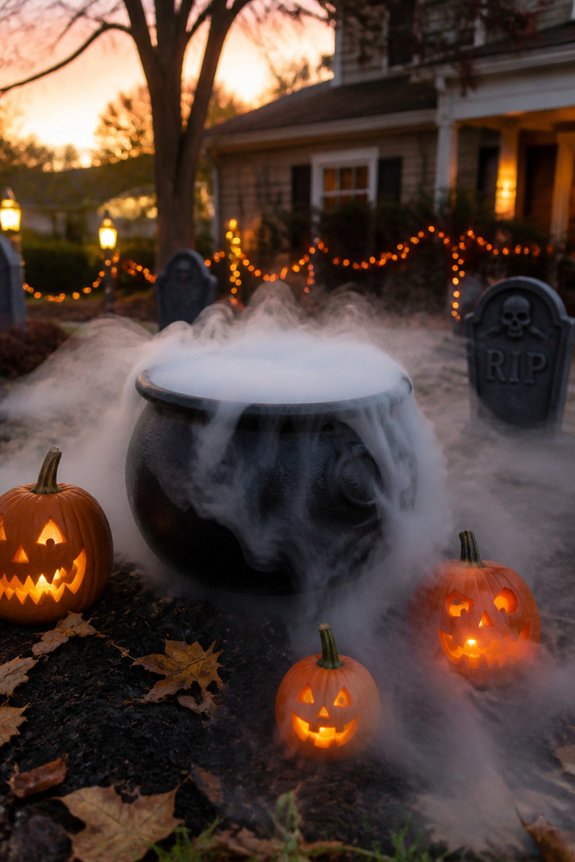
Because a cauldron produces an eerie visual effect when combined with fog, decorators can create an impressive display using basic materials. A large black cauldron, dry ice, and a fog machine combine to produce the desired effect. Placing the cauldron on an elevated surface, like a table or platform, increases visibility.
Adding green or purple lighting enhances the atmosphere further, completing the haunting scene.
Prop Up a Leaning Ladder Zombie
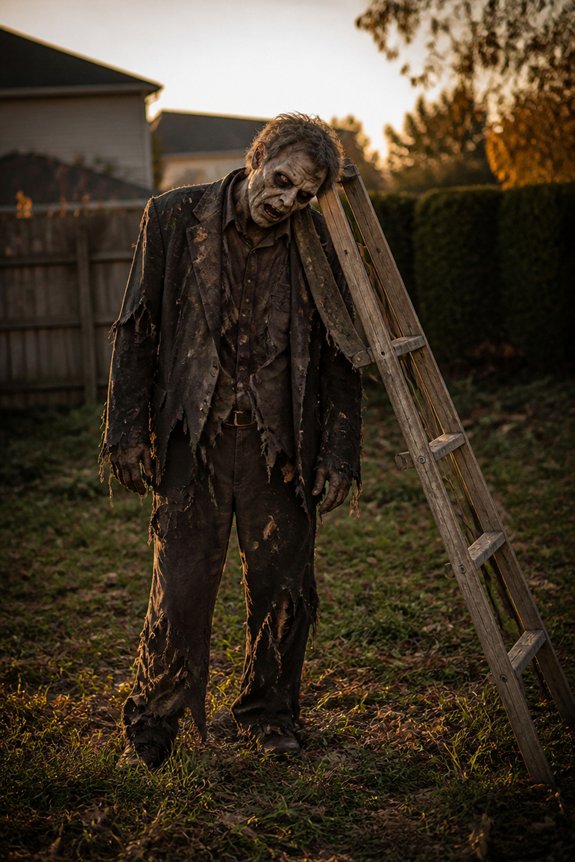
Several materials work well for creating a leaning ladder zombie display. A wooden ladder, stuffed clothing, foam head, and black paint comprise the basic components.
Position the ladder at an angle against a tree or fence. Dress the zombie in tattered clothes, add gloves to the hands, and paint the foam head with zombie features. This prop creates an effective focal point for yard decorations.
Cut Bat Silhouettes From Black Poster Board
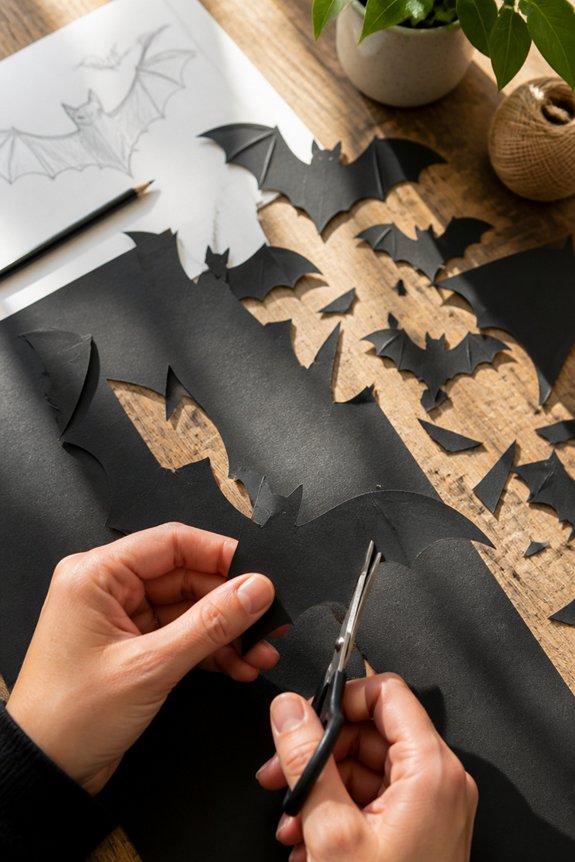
Bat cutouts offer another straightforward decoration option that complements yard displays without requiring complex assembly. Using black poster board, individuals trace bat templates, then cut along the outlines with scissors or utility knives. The finished silhouettes attach to trees, fences, or walls with tape, staples, or adhesive.
Varying the bat sizes creates visual interest across the landscape.
Paint Eerie Eyes On Paper Plate Faces
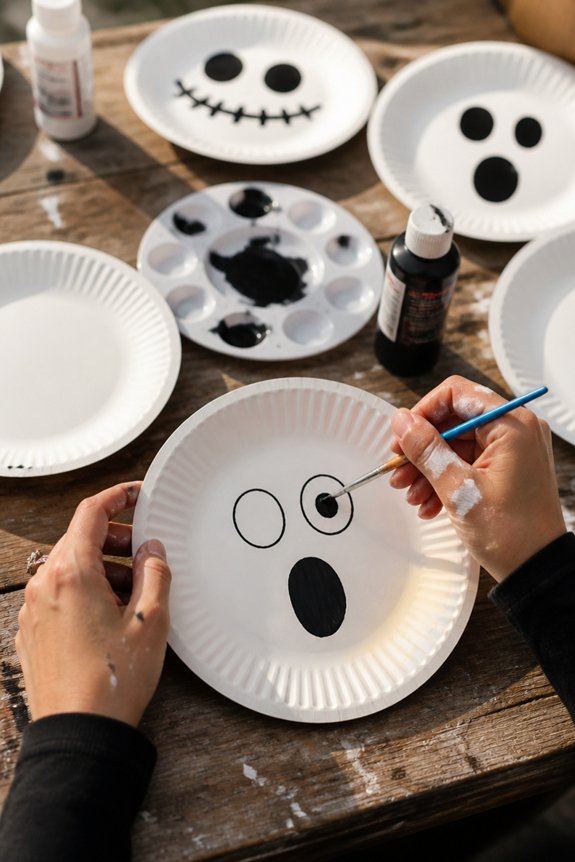
Creating ghostly faces from paper plates offers a simple decoration method requiring minimal materials and effort. Painters apply black or white acrylic paint to create hollow eye sockets, curved mouths, and skeletal features.
Stapling finished plates to wooden stakes or fence posts displays them throughout yards. Variations include adding yarn hair, fabric scraps for clothing, or reflective paint for nighttime visibility.
Build a Wooden Coffin Box Prop
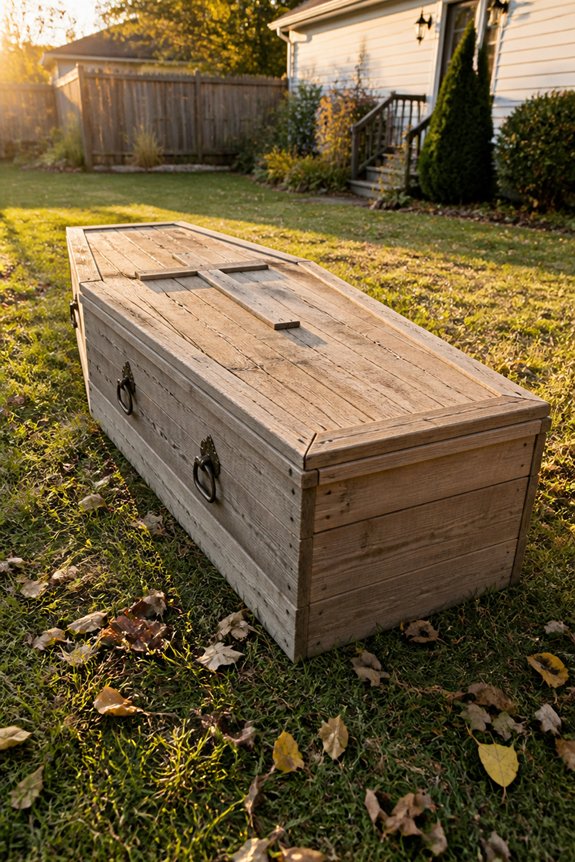
A coffin-shaped wooden box creates an eye-catching yard centerpiece that requires basic carpentry skills and materials. Builders need plywood sheets, wood screws, a saw, and sandpaper to construct the tapered box shape.
The coffin measures approximately six feet long, three feet wide at the shoulders, and one foot deep. Paint the finished box black or dark gray, then add details like hinges, handles, or interior lining for realism.
Drape Cloth Ghosts Over Chicken Wire Forms
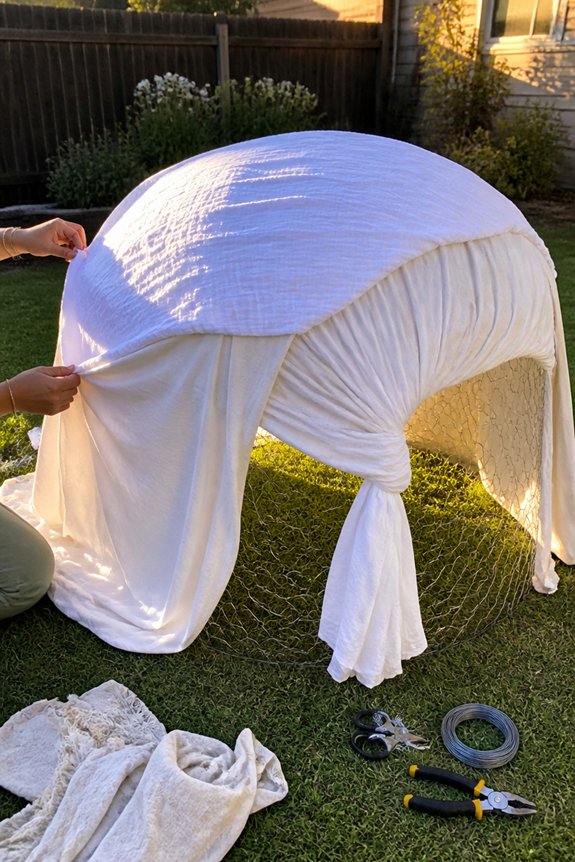
While wooden props like coffins serve as grounded yard fixtures, cloth ghosts offer an alternative approach that requires less carpentry expertise. Draping white sheets over chicken wire frames creates floating apparitions. The wire provides structural support, while sheets form the ghost shape. Secure materials with staples or zip ties.
Position ghosts near trees, walkways, or garden beds for maximum visibility and effect.
Weave LED String Lights Into Spider Webs
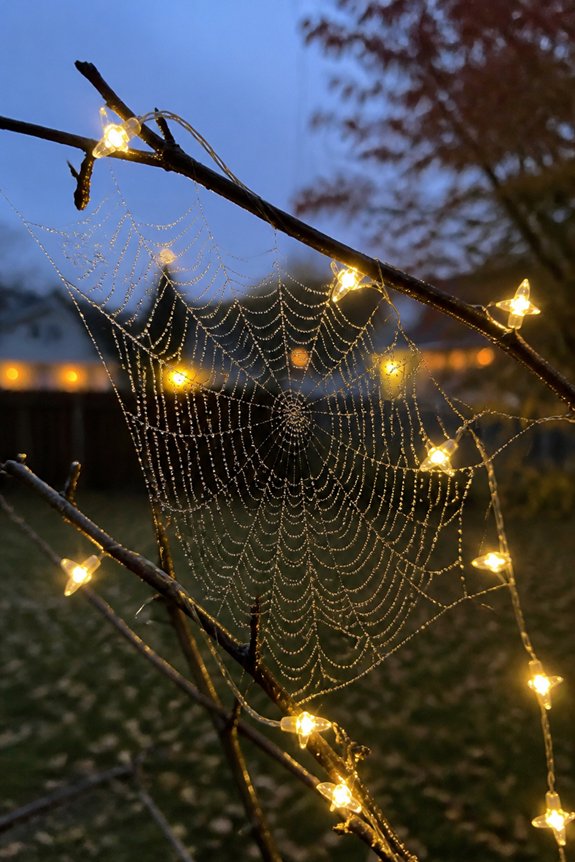
LED string lights gain dramatic effect when woven through artificial spider webbing stretched across trees, shrubs, and fence sections. The webbing serves as a base for positioning lights, creating layered visual depth.
Warm white or cool white bulbs work equally well, depending on desired atmosphere. Secure webbing with landscape stakes or clips, then thread lights through openings. This combination produces an eerie, dimensional display with minimal effort required.
Position Witch Brooms As Porch Gatekeepers
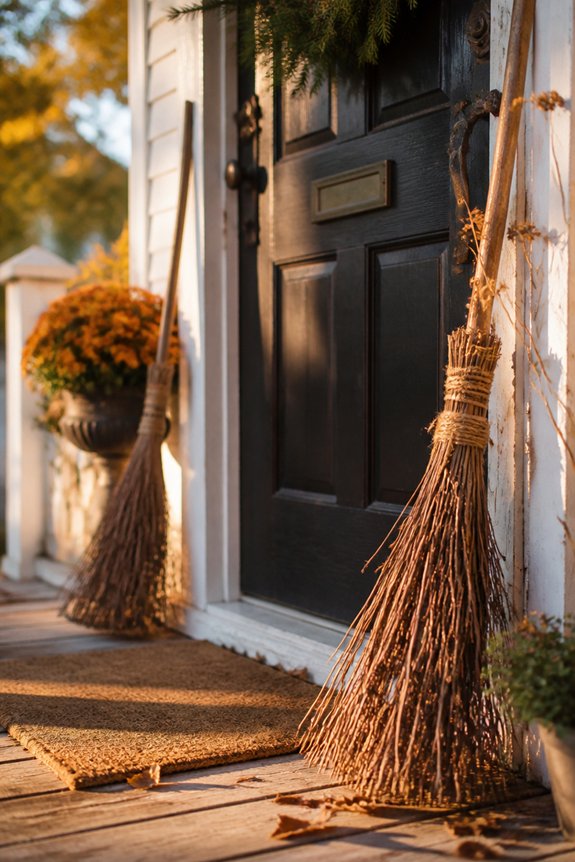
Witch brooms positioned at porch entrances create a clear visual marker for the Halloween theme while building on the layered decoration approach established with lit spider webs. Placing brooms on either side of doors or along railing edges requires minimal assembly.
Traditional straw brooms work effectively, though foam alternatives offer durability. Securing them with zip ties or wire prevents wind displacement, ensuring consistent placement throughout the season.
Stack and Illuminate Glowing Pumpkin Towers
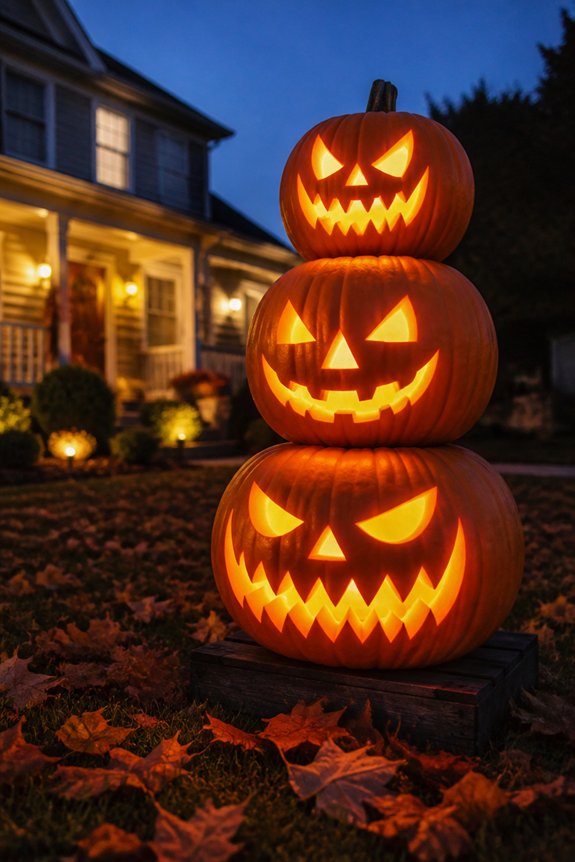
Multiple pumpkins stacked vertically create an eye-catching focal point for yard displays, combining height and visual interest with functional lighting. Use foam pumpkins for easier stacking and reduced weight concerns.
Insert battery-operated lights, such as LED string lights or glow sticks, inside each pumpkin layer. Secure stacks with wooden dowels or PVC pipes running through centers. Position towers near entryways or garden corners for maximum visibility and impact throughout evening hours.
Wrap Tree Trunks As Standing Mummies
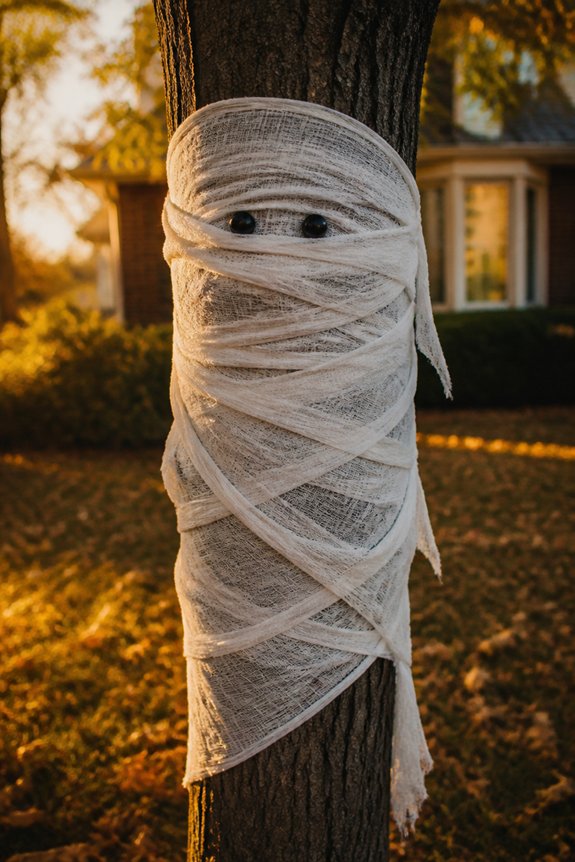
Tree trunks offer another natural canvas for Halloween decorations, shifting focus from vertical pumpkin arrangements to repurposing existing yard elements. Wrap white gauze or cloth strips around trunks, layering them unevenly for an aged appearance. Add drawn or painted black eyes using markers or paint.
This method transforms ordinary trees into standing mummy figures, requiring minimal materials and basic wrapping technique.
Cut Monster Faces From Plywood Sheets
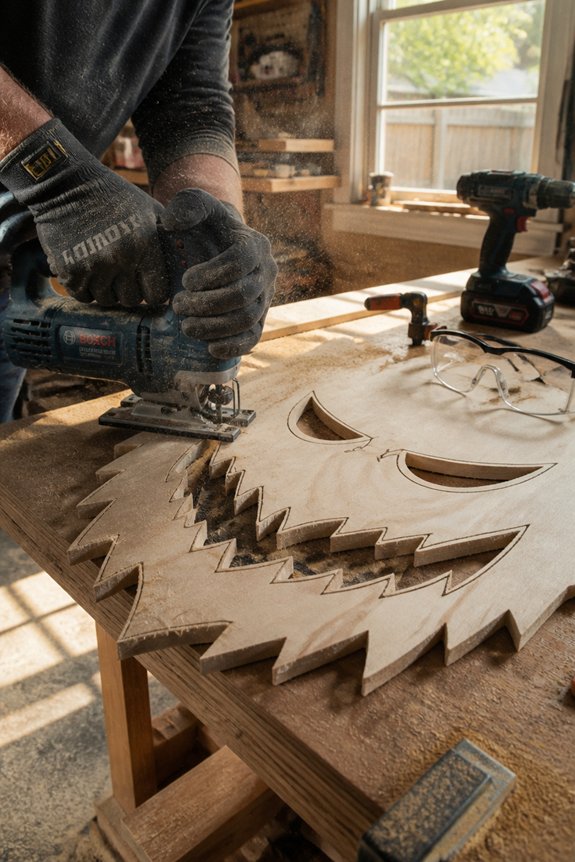
Plywood sheets provide a sturdy material for creating large, freestanding monster faces that occupy prominent yard positions. Homeowners sketch designs directly onto sheets, then cut shapes using power saws.
Paint features like eyes, noses, and mouths with outdoor latex paint. Add details with foam or PVC pipe for dimensional teeth. Secure finished pieces with stakes or concrete footings for stability against wind and weather conditions.
Fold Paper Bags Into Flickering Luminaries
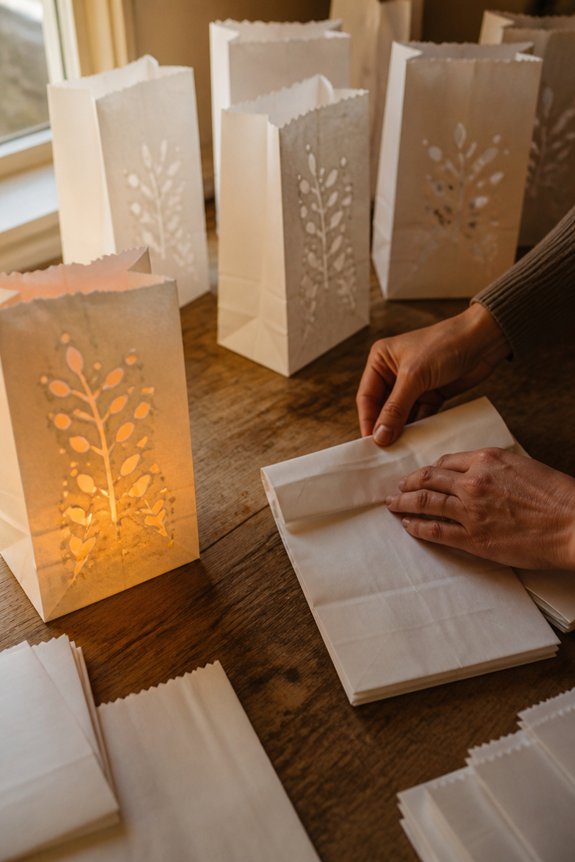
Paper bags transform into simple, glowing decorations when folded and paired with light sources. Decorators can arrange bags in rows along walkways, driveways, or garden borders. Small LED lights, battery-operated candles, or glow sticks placed inside bags create the flickering effect. Sand added to bag bottoms provides stability in wind.
This method produces affordable, reusable Halloween ambiance with minimal materials.
Plant a Skull and Crossbones Yard Sign
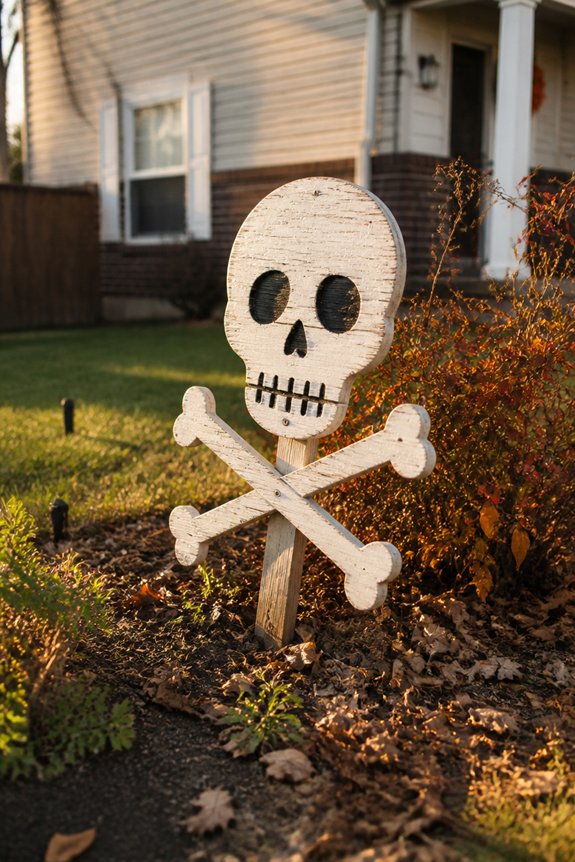
Creating a skull and crossbones yard sign involves selecting materials, designing the shape, and securing it firmly in the ground. Builders can use plywood, PVC pipes, or foam board for construction.
Paint the design black and white, then attach the sign to wooden stakes. Drive stakes deep into soil, ensuring stability against wind and weather conditions throughout the season.
Cut Black Cat Silhouettes From Foam Board
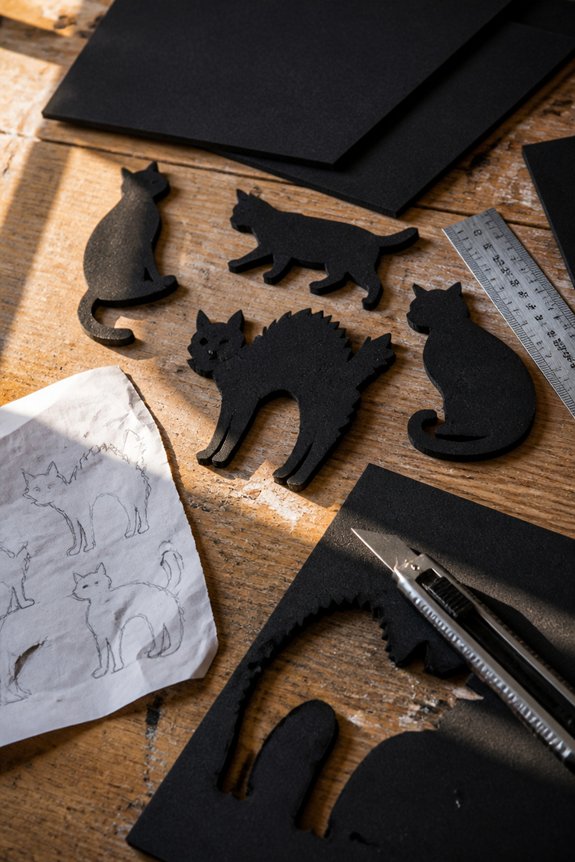
Black cat silhouettes offer a classic Halloween decoration option that builders can easily create using foam board. Crafters should sketch cat profiles, cut shapes with utility knives, and paint surfaces with black acrylic paint. Mounting stakes or wooden dowels on the back allows yard placement.
These silhouettes work effectively near porch entries, garden beds, or fence lines, providing recognizable Halloween imagery without complex construction requirements.
Pile PVC Pipes Into a Weathered Bone Mound
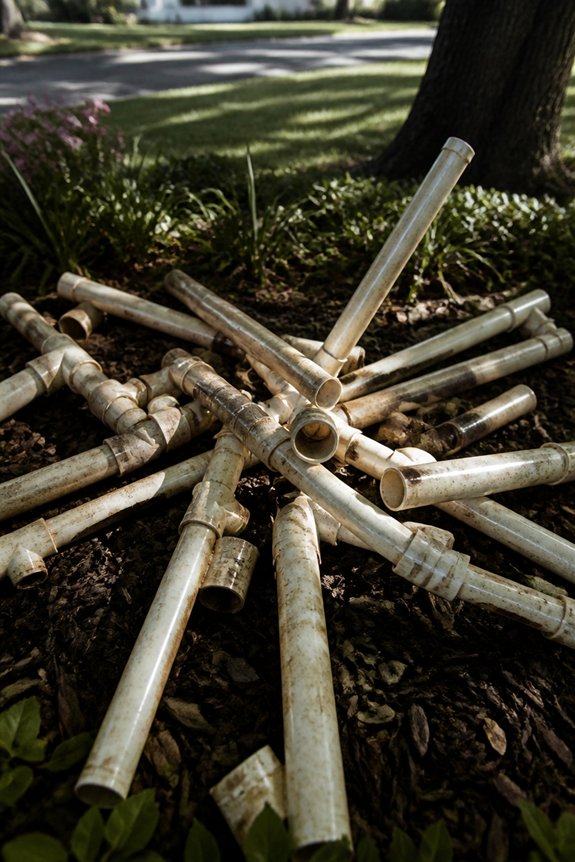
Arranging white PVC pipes into a bone-shaped mound creates a skeletal yard feature that requires minimal assembly skills. Collectors can stack various pipe diameters, securing them with weatherproof adhesive or zip ties.
Applying gray and white spray paint produces an aged appearance. Positioning the structure near entryways or garden corners maximizes visibility for passersby during evening hours.
Rig a Haunted Mirror With Spooky Reflections
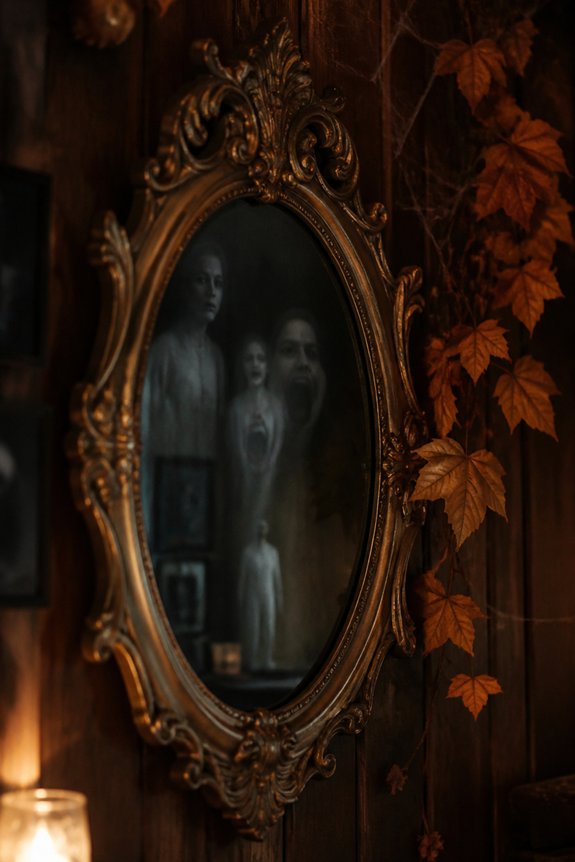
A mirror becomes an effective Halloween prop when modified with strategically placed lighting and projection techniques. Install LED lights behind the mirror frame to create an eerie glow. Use a small projector to cast ghostly images, skeletal faces, or moving shadows onto the reflective surface.
Position the mirror at an angle to catch yard foot traffic, ensuring passersby encounter the unsettling reflections unexpectedly.
Build a Graveyard Gate From Reclaimed Wood
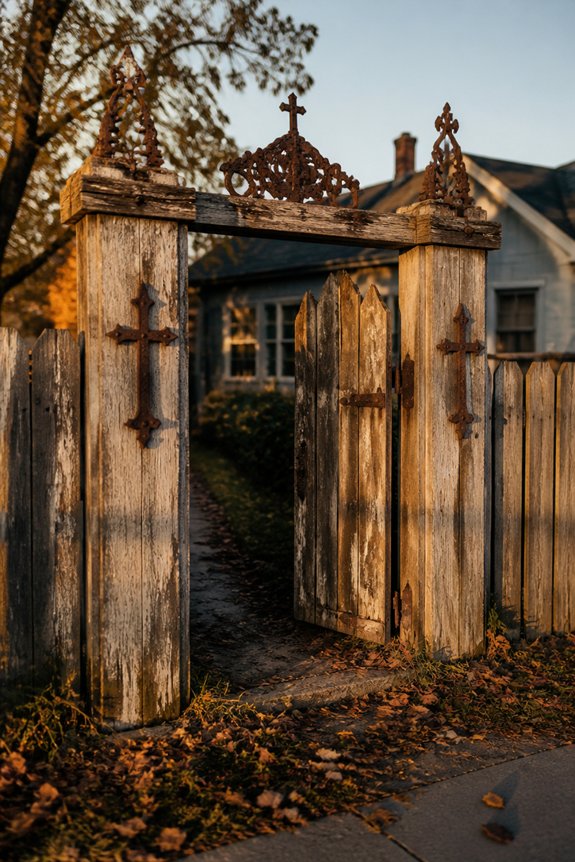
While mirrors offer reflection-based scares, a reclaimed wood graveyard gate provides a more permanent focal point for the front yard display. Salvaged fence boards, barn wood, or old pallets work well for this project.
Construct a simple frame, add vertical slats, and attach hinges for movement. Paint the gate black or gray, then add details like skull carvings or rusted hardware for authenticity.
Create a Monster Mouth Entrance Arch
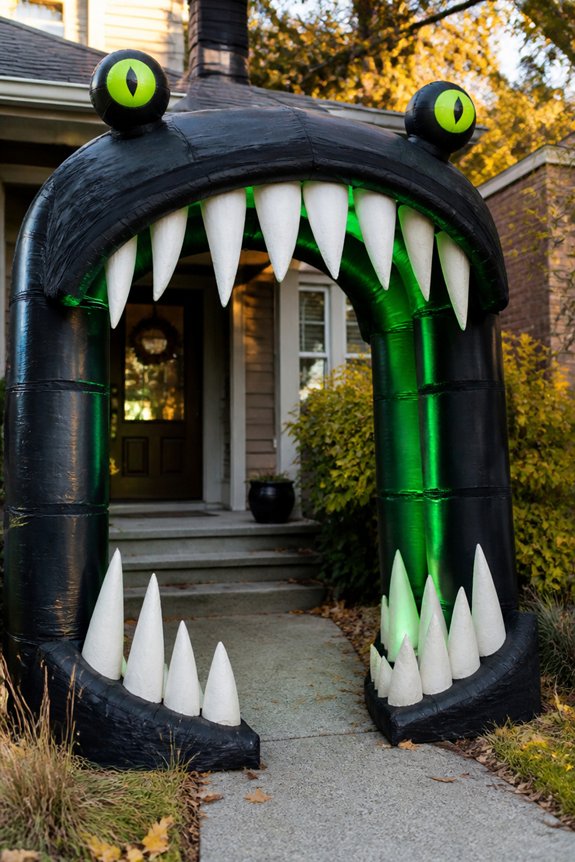
Transforming an entryway into a gaping monster mouth creates an imposing focal point for Halloween displays. Builders can construct the arch using PVC pipes, foam board, and paint, positioning it over doorways or garden paths.
Large teeth crafted from white foam or cardboard line the opening’s edges. Red or black paint enhances the menacing appearance. Interior lighting positioned behind the mouth intensifies the effect during evening hours.
Light Pathways With Glowing Mason Jar Markers
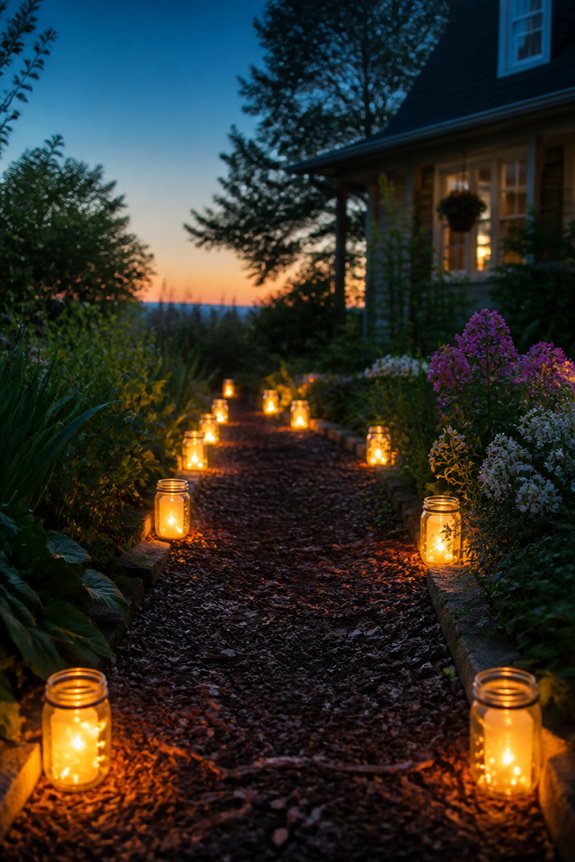
After establishing an eye-catching entrance, illuminating walkways guides visitors safely through the yard while maintaining the Halloween atmosphere. Mason jars filled with glow sticks or LED lights create functional markers along garden paths and driveways.
Burying jars partially in soil or placing them on stakes positions them effectively. Adding colored glow sticks produces themed lighting effects. This method combines safety with seasonal decoration.
Layer Your Decorations For Depth and Dimension
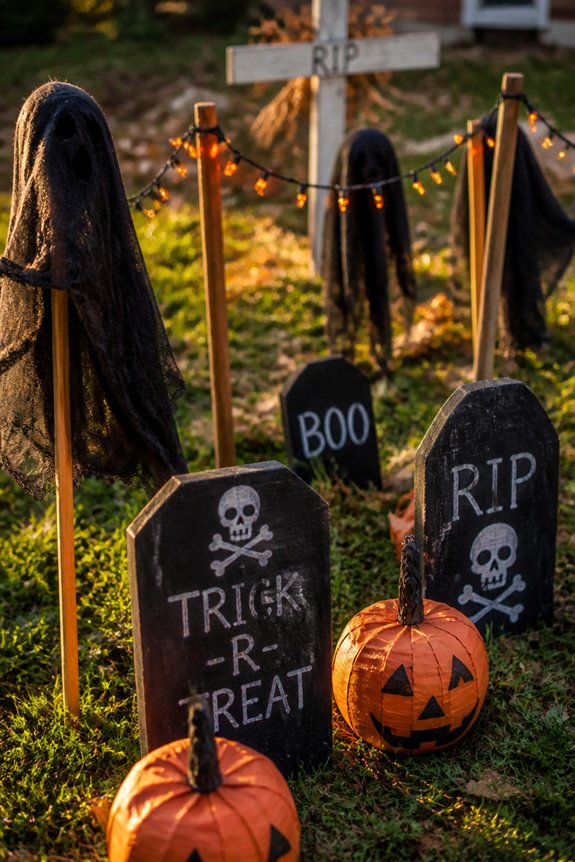
Effective yard displays benefit from arranging decorations at multiple heights and distances from the viewing area. Place tall inflatables in back rows, medium-sized props in middle sections, and small items toward the front.
This arrangement creates visual interest and prevents decorations from appearing flat. Using varied depths makes the display more engaging and allows multiple focal points to draw attention throughout the yard.
Frequently Asked Questions
How Do I Protect DIY Decorations From Rain, Wind, and Harsh Weather Conditions?
DIY decorations can be protected from harsh weather by using waterproof sealants and coatings. Securing items with stakes, anchors, or weights prevents wind damage. Storing decorations indoors during severe storms guarantees longevity and maintains their appearance throughout the season.
Can I Reuse These Decorations for Multiple Halloween Seasons?
Whether these creations survive depends on one critical factor: proper storage. Most DIY decorations can indeed be reused for multiple seasons if kept in dry, protected spaces and maintained carefully between years.
What Safety Precautions Should I Take When Using Ladders and Climbing Trees?
One should always use a sturdy ladder on level ground, wear appropriate footwear, and maintain three points of contact when climbing. Never overreach; instead, reposition the ladder. When climbing trees, inspect branches beforehand and avoid working during windy conditions.
How Do I Secure Decorations so They Don’t Blow Away or Tip Over?
One should use ground stakes, guy wires, and heavy-duty zip ties to anchor decorations firmly. Placing weighted bases around items, securing to existing structures, and avoiding windy locations helps prevent movement and tipping during storms.
What Lighting Options Work Best for Decorations Without Access to Outdoor Outlets?
Like a lighthouse guiding ships without infrastructure, solar-powered lights illuminate independently. Battery-operated LED strings, solar stake lights, and rechargeable lanterns provide reliable illumination. Glow sticks offer chemical luminescence, while timer-controlled battery lights guarantee automatic on-off cycles throughout Halloween night.
Conclusion
A Halloween yard transforms with cardboard tombstones, glowing mason jars, and sheet ghosts positioned strategically throughout the space. Skeletal figures constructed from PVC pipes stand among layered decorations, creating depth from the pathway to the porch. The graveyard gate frames the entrance while luminaries guide visitors through the display. This budget-friendly approach, using household materials like old sheets and foam, produces an effective visual impact for minimal cost and weekend effort.