
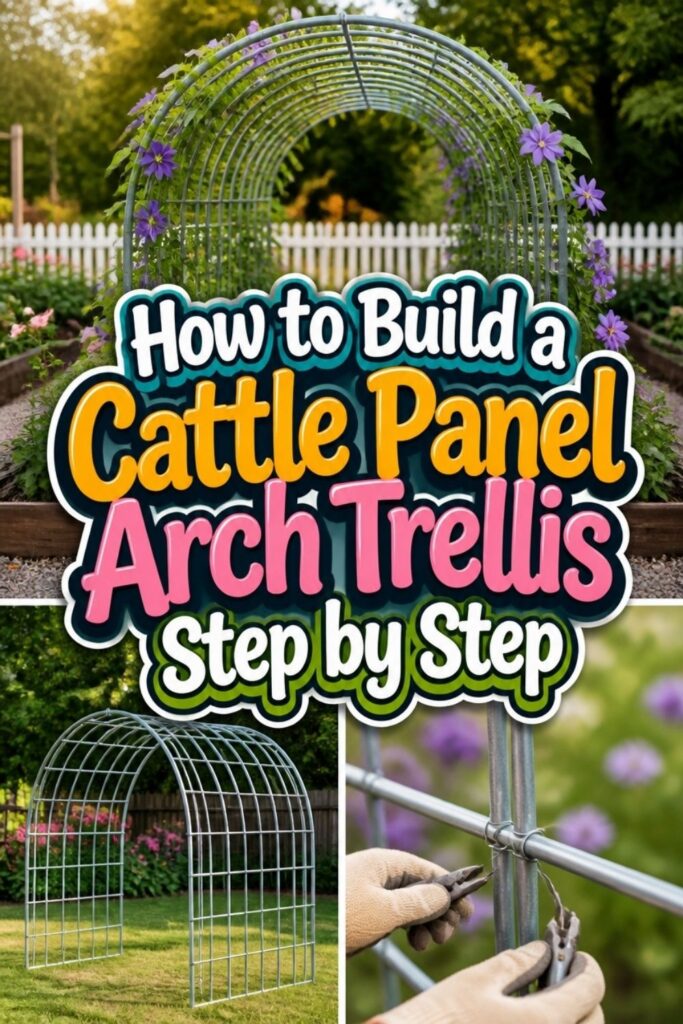
A cattle panel arch trellis offers both practical support for climbing plants and an attractive focal point for gardens and outdoor spaces. The project begins with gathering the right materials: sturdy cattle panels, pressure-treated wooden posts, concrete mix, and appropriate fasteners. Selecting quality components from the start makes all the difference in how well the structure holds up over time.
Site preparation deserves careful attention before any construction begins. The ground needs to be leveled and cleared, with precise measurements taken to ensure proper spacing between posts. Marking the exact locations where posts will sit prevents headaches later when it’s time to set everything in concrete.
Once the site is ready, the posts go into the ground at a depth that provides adequate stability, typically two feet or more depending on soil conditions. Concrete anchors them firmly in place, and patience here pays off.
Waiting for the concrete to cure completely before attaching the panel ensures the posts won’t shift under pressure. After that, bending the cattle panel into its characteristic arch and securing it to the posts creates a finished structure ready for years of heavy vines and abundant growth.
Materials and Tools You’ll Need for Your Cattle Panel Arch
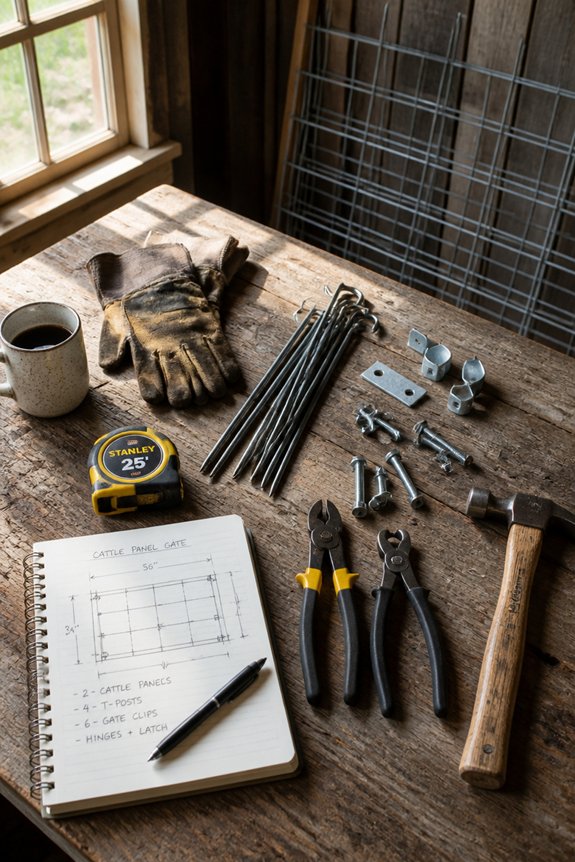
Before assembling a cattle panel arch trellis, one should gather the necessary materials and tools to complete the project efficiently.
The primary material needed is a cattle panel, typically measuring 16 feet long and 4 to 5 feet high, constructed from welded steel tubing. Additional materials include concrete mix, gravel, landscape fabric, and wood stakes for securing the structure during installation.
Essential tools include a tape measure, level, shovel, post hole digger, wheelbarrow, work gloves, and safety glasses. A circular saw proves useful for cutting wood supports, while a drill with metal bits may be needed for any modifications.
Having a helper available streamlines the process considerably, as cattle panels require multiple hands to position and stabilize properly during setup.
Preparing Your Site and Setting Posts
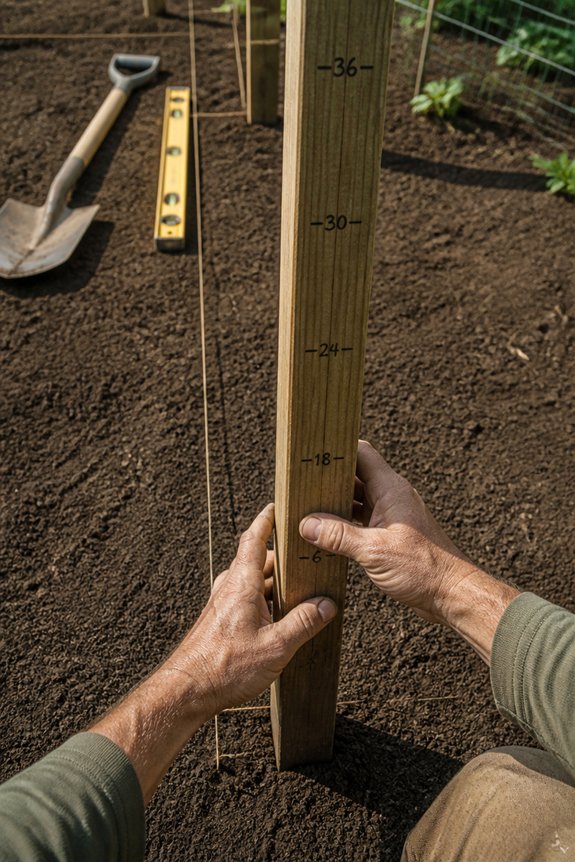
With materials and tools assembled, the next phase involves preparing the ground and establishing a stable foundation for the cattle panel arch. The builder should select a level location, clearing away rocks, debris, and vegetation that could interfere with post installation. Marking the post positions guarantees proper spacing and alignment before digging begins.
Holes require adequate depth, typically 24 to 30 inches, to support the structure against wind and weight. A post hole digger or auger efficiently removes soil. Setting posts in concrete provides stability: mixing concrete according to manufacturer instructions and pouring it around each post base secures them firmly. Allowing concrete to cure fully, usually 24 hours, prevents shifting during assembly.
Bending and Securing the Cattle Panel
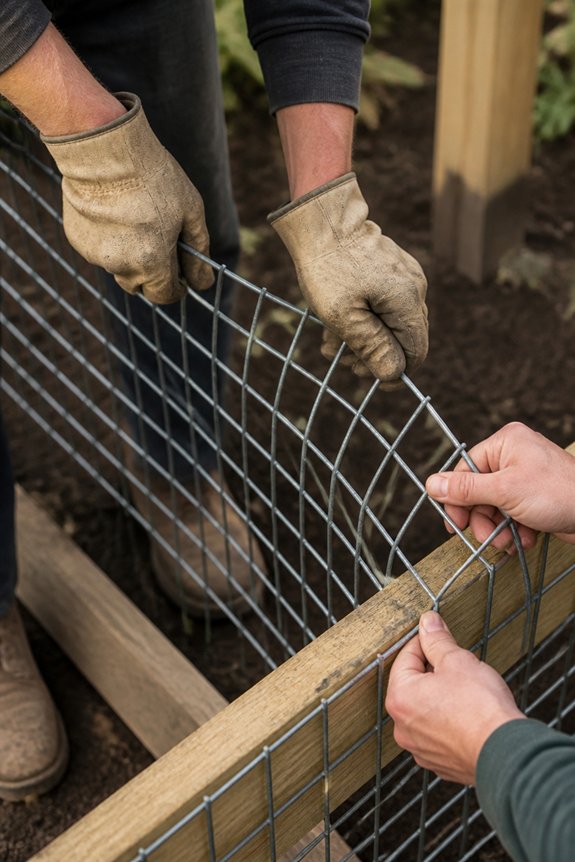
The cattle panel requires careful bending to form the arch shape that defines the trellis structure. Handlers should gradually curve the panel upward, working from both sides toward the center to guarantee even distribution of stress.
Two people typically manage this task effectively, one on each end, applying steady, consistent pressure rather than sudden force. The panel should bend smoothly without kinking or cracking at individual points.
Once positioned correctly over the posts, securing mechanisms become essential. Wire, metal brackets, or U-bolts fasten the panel firmly to each post, preventing shifting or collapse. The fasteners should be spaced approximately twelve to eighteen inches apart along the panel’s length.
Proper tension throughout the arch maintains structural integrity. Handlers must verify that the arch height matches predetermined specifications before final securing occurs.
Attaching the Panel to Your Posts
Once handlers position the arched panel at the correct height, they must secure it firmly to each post using appropriate fastening methods. Galvanized bolts, heavy-duty zip ties, and metal clamps work well for this purpose.
Bolts offer maximum strength, requiring drilling through both the panel and post, then tightening with a wrench. Zip ties provide easier installation and work adequately for lighter applications. Metal clamps grip the panel against the post without permanent modifications.
Handlers should attach fasteners at multiple points along each post, spacing them approximately twelve to eighteen inches apart. This distribution prevents stress concentration and maintains structural integrity. Galvanizing prevents rust, extending the trellis lifespan considerably.
Each fastening method requires different tools and effort levels, so builders should select based on their available resources and desired durability.
Bracing Your Arch for Stability
After securing the panel to the posts, builders must add bracing to prevent lateral movement and wobbling. Diagonal bracing works effectively, using materials like 2×4 lumber or metal angle iron. These diagonal supports run from the top of one post to the lower section of the opposite post, creating triangular support patterns.
Install bracing on both sides of the arch for balanced stability. Metal L-brackets or corner braces can reinforce joints where the panel meets posts. Welding or bolting secures these connections permanently.
Additional horizontal cross-braces between posts add lateral support, particularly important for taller structures. Builders should check for wobbling by applying gentle pressure to the arch after installation. Adjustments to brace tightness or positioning may be necessary before planting climbing plants on the completed trellis.
Planting Depth, Spacing, and Timing
Proper planting technique guarantees climbing plants establish themselves on the cattle panel arch and grow successfully upward. Plants should be positioned 6 to 12 inches from the arch base, allowing roots to access soil while vines climb the structure. Spacing between individual plants depends on the species; vigorous growers like clematis need 3 to 4 feet between plants, while slower varieties require less distance.
Planting timing matters considerably. Spring offers ideal conditions for most climbing plants, providing the growing season to establish strong root systems before winter. Fall planting works for hardy species in mild climates.
Soil temperature should reach 50 degrees Fahrenheit minimum. Water newly planted vines regularly during their first growing season, maintaining consistent moisture without waterlogging.
Winterizing and Seasonal Care
As climbing plants mature through their first year and subsequent seasons, protecting them from harsh weather becomes necessary to maintain arch trellis displays. In fall, gardeners should apply mulch around the base of plants, insulating roots from freezing temperatures. Winter winds can damage tender vines, so wrapping the lower portions with burlap offers protection.
Spring requires removing dead growth, inspecting for pest damage, and loosening soil compacted by snow and ice. Summer care involves regular watering during drought periods and pruning overgrown sections to maintain arch shape. Fall preparation includes reducing fertilizer applications and removing diseased foliage.
Different plant species require varying protection levels. Clematis varieties need winter mulch, while hardy kiwis tolerate cold better. Monitoring weather forecasts helps gardeners time protective measures appropriately.
Frequently Asked Questions
What Plants Grow Best on Cattle Panel Arch Trellises?
Climbing vegetables like beans, peas, and cucumbers thrive on cattle panel arches. Ornamental vines such as clematis, honeysuckle, and morning glories flourish excellently. Perennial hops and grapes also perform well, creating lush, productive garden structures.
How Much Weight Can a Cattle Panel Arch Support?
Ironically, despite their delicate appearance, cattle panels prove remarkably sturdy. A properly installed arch typically supports 200-300 pounds of combined plant and vine weight, though installation quality ultimately determines actual load-bearing capability.
Can I Move or Relocate My Cattle Panel Arch Later?
Yes, cattle panel arches can be relocated. One should dig out the base posts, carefully lift the structure, and replant it in the desired location. However, established climbing plants may require pruning before moving to minimize damage and shock.
How Long Does a Cattle Panel Arch Typically Last?
Studies show gardeners abandon 40% of structures within three years due to deterioration. A cattle panel arch typically lasts 10-15 years with proper maintenance, though galvanized panels can extend longevity to 20 years when protected from harsh weather conditions.
What Is the Cost to Build a Cattle Panel Arch?
A cattle panel arch typically costs between $50 and $150 to construct. The primary expense is the cattle panel itself, which ranges from $40 to $120, while additional materials like concrete or stakes add minimal cost.
Conclusion
A cattle panel arch trellis, like a sturdy bridge supporting climbing vines, requires proper foundation work and ongoing maintenance. Post installation, panel bending, bracing, and winterization create a functional structure lasting multiple seasons. Success depends on concrete curing, secure fastening, diagonal support, and seasonal care. Gardeners who follow these procedures develop reliable growing spaces for vegetables, flowers, and climbing plants year after year.