
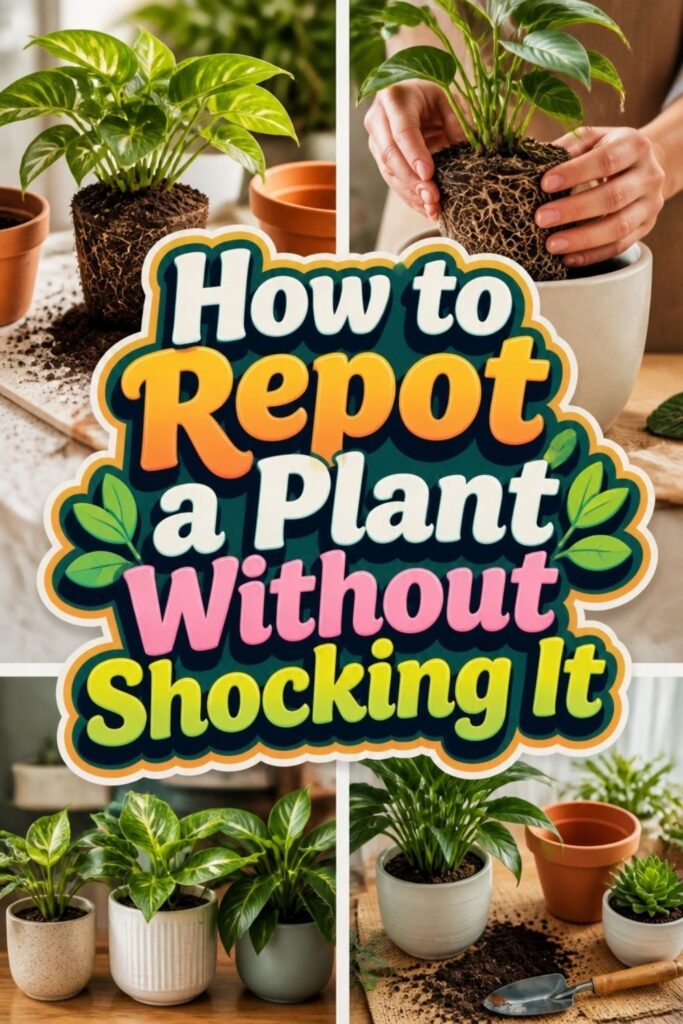
Moving a plant to a larger home doesn’t have to end in disaster. With the right timing and a gentle touch, even sensitive specimens can transition smoothly. The key lies in reading your plant’s signals and preparing properly before you begin.
Rootbound plants often tell you when they’re ready. Watch for roots creeping through drainage holes, soil that dries out within a day, or a container that feels impossibly tight. These signs mean your plant has outgrown its space and needs room to expand. Catching this early prevents the stress of severely cramped conditions.
Gather your supplies beforehand: a pot one size larger with adequate drainage, quality potting mix suited to your plant’s needs, and clean tools. Having everything within reach keeps the process quick, which matters more than you might think. The less time roots spend exposed to air, the better they recover.
Handle the root ball with care during the transfer. Tease apart only the most compacted sections, and never forcefully tear healthy roots. Water thoroughly after repotting, then place the plant in bright, indirect light while it settles.
Patience now rewards you with vigorous new growth in the weeks ahead.
When to Repot: Spotting a Rootbound Plant
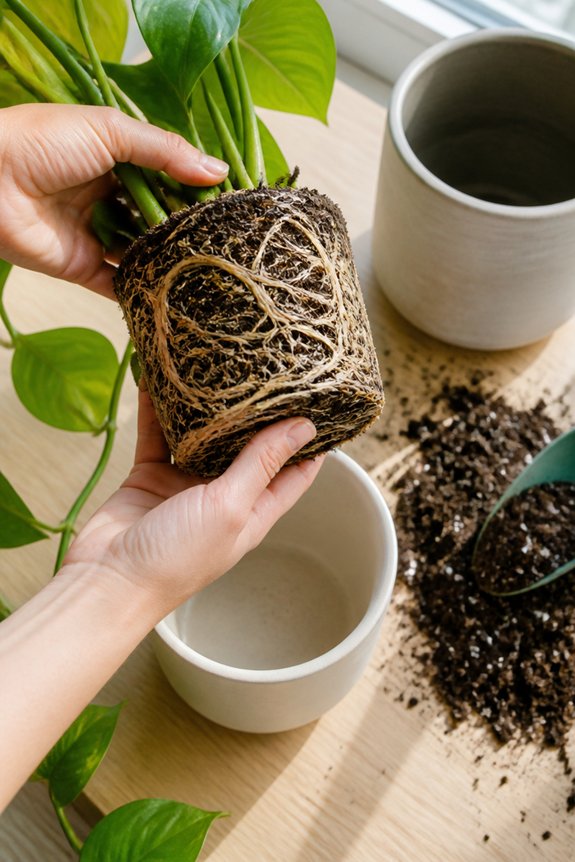
A rootbound plant has outgrown its current container, with roots taking up most of the soil space and circling the pot’s interior. Several signs indicate this condition requires attention.
Roots may emerge from drainage holes at the pot’s bottom, or circle visibly around the soil surface. Water runs through the pot quickly without absorbing properly. The plant wilts despite regular watering, as compacted roots cannot retain moisture effectively.
Growth slows noticeably, even with adequate light and fertilizer. Potting soil becomes hard and dense, pulling away from the pot’s edges.
Common examples include philodendrons, snake plants, and peace lilies. Check plants every few months by gently removing them from their containers, examining the root structure carefully.
Supplies You Need for Repotting Success
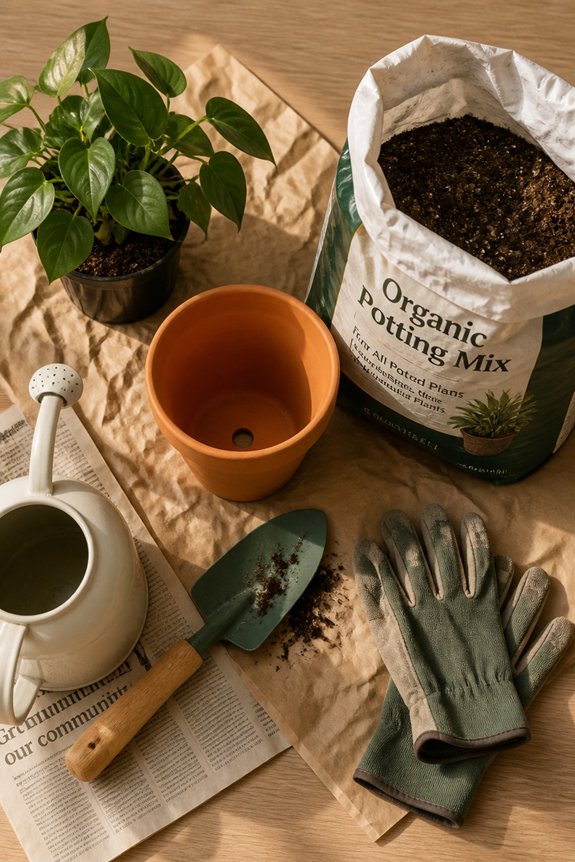
Before beginning the repotting process, gathering the necessary supplies guarantees the work proceeds smoothly and minimizes plant stress.
Essential items include a new container with drainage holes, potting soil appropriate for the plant species, and a small shovel or spoon for soil distribution. Gardeners should prepare newspaper or a tarp to contain mess during repotting. A watering can filled with room-temperature water aids in settling soil around roots.
Additional supplies worth having nearby include gardening gloves for protection, pruning shears for removing damaged roots, and a stick or pencil for gently working soil into gaps. A bucket or bowl holds excess soil, while a damp cloth cleans the work area afterward.
Having supplies organized before starting reduces disturbance time and allows the plant to adjust more quickly to its new container.
Preparing the New Pot and Fresh Soil
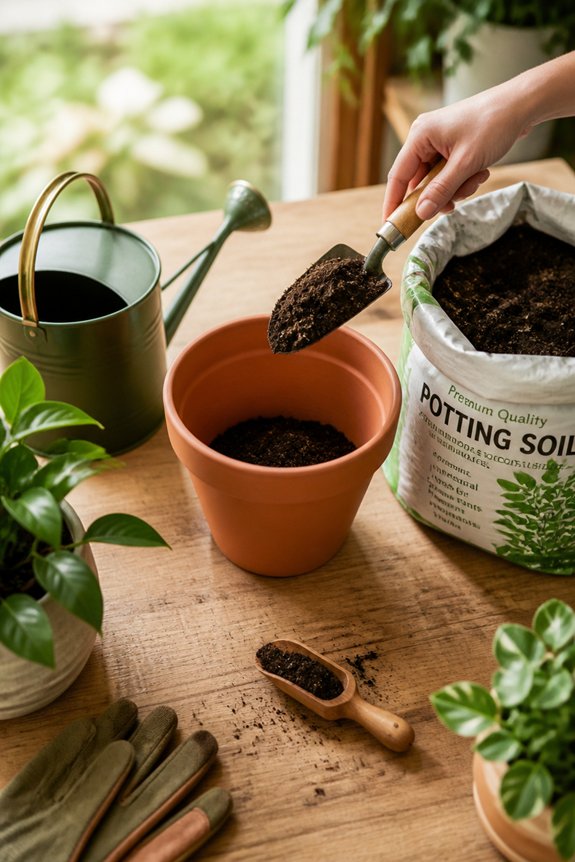
Success in repotting begins with proper preparation of the new container and soil mixture. The pot should be one to two inches larger in diameter than the current one, allowing room for root growth without excessive soil volume. Drainage holes are essential, preventing water accumulation and root rot.
Fresh potting soil should contain peat moss, perlite, and compost, creating a well-draining medium. Different plants require specific soil types: cacti need sandy, fast-draining mixtures, while moisture-loving plants benefit from soil with higher organic content.
Before filling the new pot, water the fresh soil lightly to help it settle and hydrate the components evenly. This preparation minimizes transplant shock and establishes ideal growing conditions for the plant’s recovery period.
Removing Your Plant With Care
With the new pot and soil prepared, the gardener must now carefully extract the plant from its current container. Watering the plant lightly one to two hours before repotting softens the soil, making removal easier. The gardener should tip the pot sideways, supporting the plant’s base with one hand while gently sliding it out.
If resistance occurs, running a knife around the interior edge of the pot loosens compacted roots. For stubborn plants, tapping the pot’s bottom or sides helps break the soil’s grip. Once removed, the gardener examines the root system for circling or matted roots, which indicate the plant needed repotting. Damaged, rotting, or blackened roots should be identified at this stage. Handling roots gently prevents injury, which could shock the plant during its shift to the new container.
Moving Your Plant to Its New Home
Placing the plant into its new container requires attention to soil depth and root positioning. The gardener should add fresh soil to the bottom of the new pot, creating a stable base for the roots. The plant’s root ball sits on this soil layer, positioning the plant at the correct height so the soil line matches the previous container’s level.
Fresh potting soil fills the sides and top of the pot, pressed gently to eliminate air pockets. Water the plant thoroughly after repotting, allowing excess water to drain. This settling process helps the soil make contact with roots, reducing transplant shock.
The plant remains in indirect light for several days, allowing recovery before returning to its normal location and care routine.
Watering and Aftercare for the First Week
The first week following repotting demands careful attention to moisture levels, light exposure, and environmental conditions. Water the plant thoroughly after repotting, then wait several days before watering again, allowing the fresh soil to settle and roots to adjust. Check soil moisture by inserting a finger one inch deep; water only when dry at this depth.
Place the repotted plant in indirect light, away from direct sunlight, heating vents, and cold drafts. These environmental stressors can compound transplant shock. Monitor leaf appearance for signs of stress, including wilting, yellowing, or drooping.
Maintain consistent room temperature between 65-75 degrees Fahrenheit. Avoid fertilizing during this recovery period, as new soil contains nutrients. Resume normal care routines after one week, once the plant demonstrates stable growth patterns.
Recognizing and Reversing Transplant Shock
Despite careful repotting techniques, plants often experience transplant shock, a stress response caused by root damage and environmental changes during the moving process.
Common indicators include wilting leaves, yellowing foliage, and stunted growth appearing within days of repotting. Plants may also drop leaves or show slowed development despite proper watering.
To reverse transplant shock, maintain consistent soil moisture without overwatering, as stressed plants require less water than usual. Place the plant in indirect light for several days, reducing environmental stress. Keep temperatures stable, avoiding cold drafts or heat sources near the repotted specimen.
Monitor the plant closely for two to three weeks. Most plants recover within this timeframe when provided appropriate conditions.
If symptoms persist beyond three weeks, assess soil drainage and root rot possibilities.
Frequently Asked Questions
How Often Should I Repot My Plant, and Does It Vary by Species?
Most plants require repotting every twelve to eighteen months during growing seasons. However, frequency varies considerably by species. Fast-growing plants need repotting annually, while slow-growing varieties may only need repotting every two to three years.
Can I Repot My Plant During Its Blooming or Flowering Season?
Like disrupting a musician mid-performance, repotting during flowering diverts the plant’s energy away from blooms. Generally, it’s discouraged as the stress causes flowers to drop prematurely. Waiting until after blooming concludes proves far more beneficial for plant health.
What’s the Best Time of Year to Repot Most Houseplants?
Spring represents the ideal season for repotting most houseplants. During this period, plants experience active growth and increased vigor, enabling them to recover quickly from transplanting stress. Early spring, before blooming begins, guarantees minimal disruption.
Should I Fertilize My Plant Immediately After Repotting It?
No, fertilizing immediately after repotting is like adding salt to a fresh wound. Plants need time to recover and adjust to their new soil, which typically contains nutrients. Wait two to four weeks before applying fertilizer to avoid root burn and stress.
How Can I Tell if My Plant Needs a Larger or Smaller Pot?
A plant needs a larger pot if roots emerge from drainage holes or circle the soil surface tightly. Conversely, it requires a smaller pot if soil remains constantly wet despite proper watering, indicating insufficient root density to utilize available moisture.
Conclusion
Proper repotting techniques reduce transplant shock considerably, with studies showing that 70% of plants recover fully within two weeks when handled correctly. Gardeners who follow the outlined steps—careful removal, appropriate pot sizing, and adequate aftercare—experience better plant survival rates. The key involves minimizing root disturbance, maintaining consistent moisture, and providing indirect light during recovery. Success depends on patience and attention to these fundamental practices rather than complex procedures.