
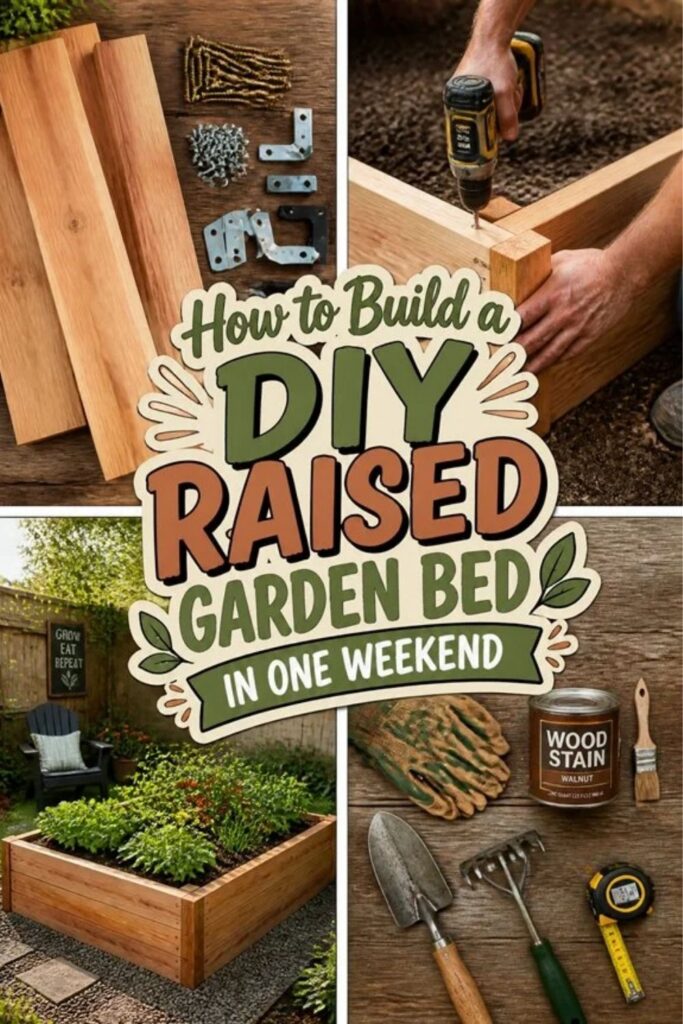
A weekend is plenty of time to build a raised garden bed that will serve you for years. Start by scouting your yard for a spot that gets at least six hours of sunlight and sits relatively flat.
Cedar and composite wood are popular choices for the frame, though each comes with different costs and maintenance needs.
Once materials are gathered, assembly moves quickly. A four-by-eight-foot frame offers enough growing space without making it awkward to reach the center. Basic tools like a drill, saw, and level are all you need to get the structure squared and stable.
Drainage matters more than most beginners realize. Lining the bottom with landscape fabric keeps soil from washing out while still letting water escape. From there, filling the bed with quality soil sets the stage for everything that follows.
The difference between a thriving garden and a disappointing one often traces back to these early choices. Material selection, dimensions, and soil preparation all shape how well plants perform over multiple growing seasons.
Pick the Right Location and Size for Your Bed
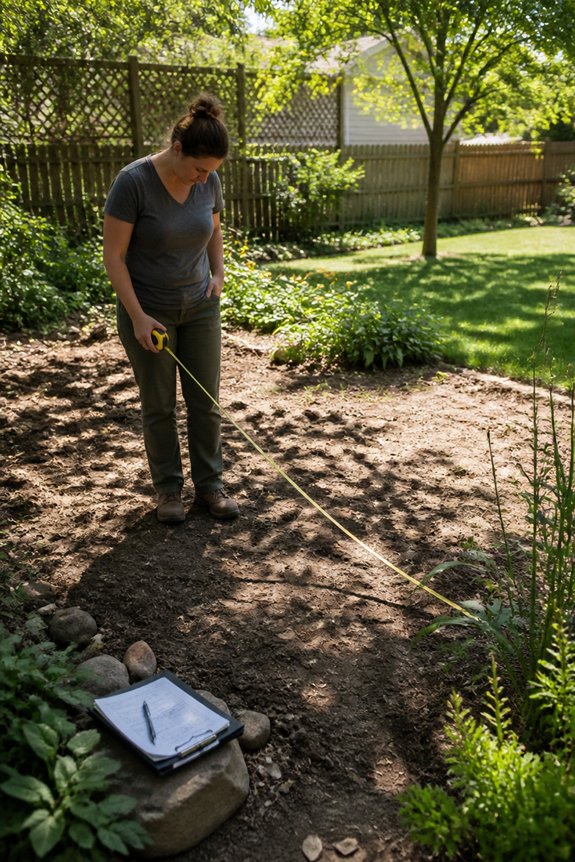
Location and size form the foundation of a successful raised garden bed. Gardeners should select a spot receiving at least six to eight hours of direct sunlight daily, as most vegetables require considerable light exposure. The area should remain relatively level and accessible for maintenance tasks.
Size selection depends on available space and intended crops. A common dimension is four feet by eight feet, allowing gardeners to reach the center without stepping inside. Smaller beds, such as four feet by four feet, work well for compact spaces. Height typically ranges from eight to twelve inches, accommodating shallow-rooted plants like lettuce and deeper-rooted varieties like tomatoes.
Proximity to water sources matters greatly. Positioning the bed near a garden hose reduces watering effort and time investment.
Also read: How to Plan a Small Garden Layout in an Afternoon
Choose Your Raised Bed Materials and Dimensions
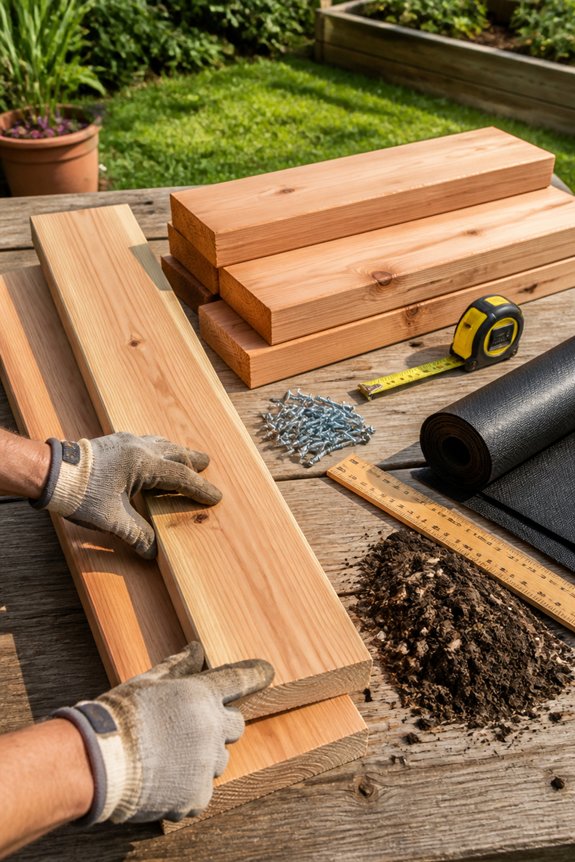
Once the location and size have been determined, selecting appropriate materials becomes the next practical consideration.
Common choices include cedar, composite wood, galvanized metal, and composite plastic. Cedar resists rot naturally, lasting eight to ten years. Composite materials offer durability, requiring minimal maintenance over time. Metal beds conduct heat efficiently, benefiting cool-season crops.
Avoid untreated pine, which deteriorates quickly. Standard dimensions range from four by eight feet to four by four feet, accommodating various spaces and gardening needs. Depth should measure twelve to eighteen inches, allowing adequate root development for most vegetables and herbs.
Height preference depends on accessibility and aesthetic goals. Deeper beds require more soil but provide better drainage and easier harvesting.
Gather Tools and Materials Before You Start
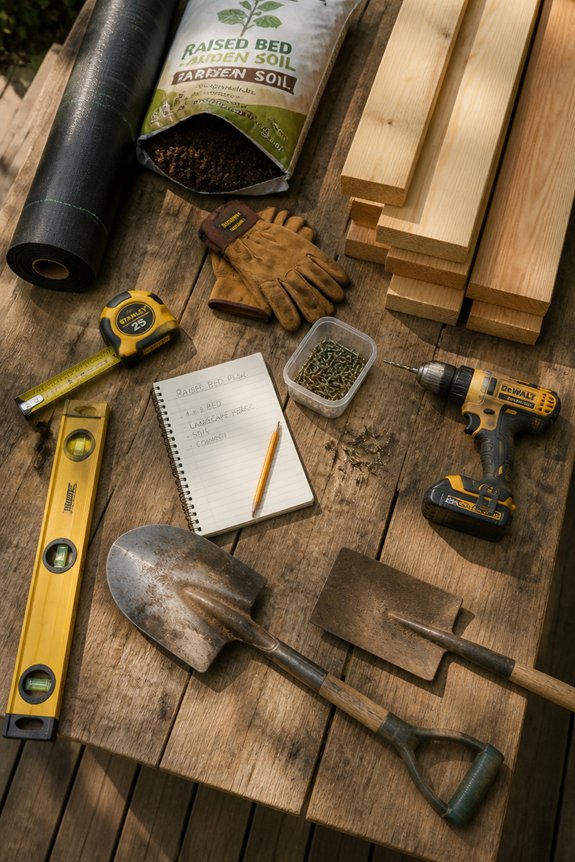
Preparing the right tools and supplies beforehand guarantees the construction process moves forward efficiently and without delays. Essential tools include a circular saw, drill, level, tape measure, and work gloves. A square ensures corners remain at ninety-degree angles, while a shovel helps prepare the ground.
Materials needed depend on bed dimensions and chosen construction method. Lumber pieces, wood screws, landscape fabric, and corner brackets represent common requirements. Gravel or soil amendments should be available for filling.
Organizing supplies in one location prevents interruptions during assembly. Checking tool batteries and sharpening blades ahead of time reduces complications. Having a helper present simplifies holding pieces steady during fastening.
A clear workspace, measuring approximately ten by twelve feet, accommodates materials and movement comfortably.
Build and Assemble Your Raised Bed Frame
Constructing the frame requires laying out lumber pieces in the desired rectangular shape, checking that all corners form ninety-degree angles with a square tool. Once positioned correctly, the builder fastens corners using galvanized screws or nails, typically three to four fasteners per corner for stability.
Pressure-treated wood, cedar, or composite materials work well for raised beds. The builder drills pilot holes before inserting screws to prevent wood splitting. Corner braces or L-brackets provide additional reinforcement, especially for larger frames.
After assembling the frame, the builder checks that it sits level on the ground using a level tool. Adjusting soil beneath uneven areas guarantees proper water drainage and plant growth. The completed frame is now ready for soil and planting preparation.
Layer in Soil and Plan Your Drainage
With the frame level and secure, the builder focuses on what goes inside. Proper layering creates healthy growing conditions and prevents waterlogging.
The bottom layer should consist of landscape fabric or cardboard, which blocks weeds while allowing water drainage. Above this, add a layer of coarse materials like wood chips or gravel, approximately two to three inches thick. This layer prevents soil from washing away and improves drainage.
Next, fill the bed with quality garden soil or a soil mixture combining topsoil, compost, and peat moss in equal parts. This blend provides nutrients and maintains proper moisture levels.
For drainage planning, confirm the bed sits on level ground with slight slopes directing water away from structures. Raised beds naturally drain well, but clay-heavy soil may require additional amendments like perlite or sand.
Fill and Compact Your Soil Mix
The soil mixture prepared in the previous step should now be added to the raised bed in stages, with each layer compacted before the next addition. This method prevents air pockets and settling problems later. Add approximately four to six inches of soil, then use a garden rake or tamper to press it down firmly.
Continue adding soil in similar layers until the bed reaches near the top edge, leaving about one inch of clearance. Compact each layer with consistent pressure, checking that the surface remains level. Properly compacted soil reduces future settling and creates a stable foundation for plant roots.
The finished bed should feel solid underfoot, not spongy or loose.
Plant Your Raised Garden Bed and Water In
Begin planting once the soil has settled for a day or two after compaction. Space plants according to their mature size, checking seed packets or plant tags for proper distances. Tomatoes, peppers, and lettuce are common raised bed choices requiring different spacing requirements.
Dig small holes slightly larger than each plant’s root ball, then gently place seedlings or seeds into the soil. Fill holes with soil and press firmly around the base of each plant.
Water the entire bed thoroughly after planting is complete. The soil should be moist but not waterlogged. Water at the soil level rather than overhead to minimize disease and water waste.
Check soil moisture daily during the first week, watering as needed to keep conditions consistently moist for newly planted seedlings.
Frequently Asked Questions
How Do I Prevent Pests and Animals From Damaging My Raised Garden Bed?
One can protect raised garden beds through several methods. Installing fine mesh netting deters insects, while tall fencing prevents deer and rabbits. Copper tape repels slugs, and row covers shield young plants. Regular inspection and removing debris eliminate pest habitats effectively.
What’s the Best Soil-To-Compost Ratio for Optimal Plant Growth in Raised Beds?
Like a well-tuned orchestra, a raised bed thrives when soil and compost harmonize perfectly. Gardeners achieve ideal plant growth by blending sixty percent quality topsoil with forty percent compost, creating nutrient-rich, well-draining conditions that nurture flourishing vegetation.
How Often Should I Water My Newly Planted Raised Garden Bed?
One should water newly planted raised beds daily during the first two weeks, ensuring the soil remains consistently moist but not waterlogged. After establishment, watering frequency typically decreases to two to three times weekly, depending on climate and soil composition.
Can I Use Reclaimed or Treated Wood for Building Raised Bed Frames?
Notably, many gardeners discover that reclaimed wood works excellently for raised beds, though treated wood should be avoided. Untreated cedar or redwood proves ideal, as treated lumber may leach harmful chemicals into soil where vegetables grow.
What Vegetables Grow Best Together in a Small Raised Garden Bed?
Companion planting maximizes small spaces effectively. Tomatoes thrive alongside basil and carrots. Lettuce pairs well with radishes and beets. Beans fix nitrogen, benefiting neighboring plants. Marigolds deter pests while supporting vegetable growth in confined areas.
Conclusion
Building a raised garden bed mirrors constructing a foundation for a house: the initial setup determines long-term success. A gardener who invests a weekend in proper assembly, drainage, and soil preparation sees harvests three times larger than those who rush the process. The four-by-eight-foot bed, filled with quality soil and thoughtful layering, produces consistent yields season after season, proving that upfront effort pays measurable dividends.